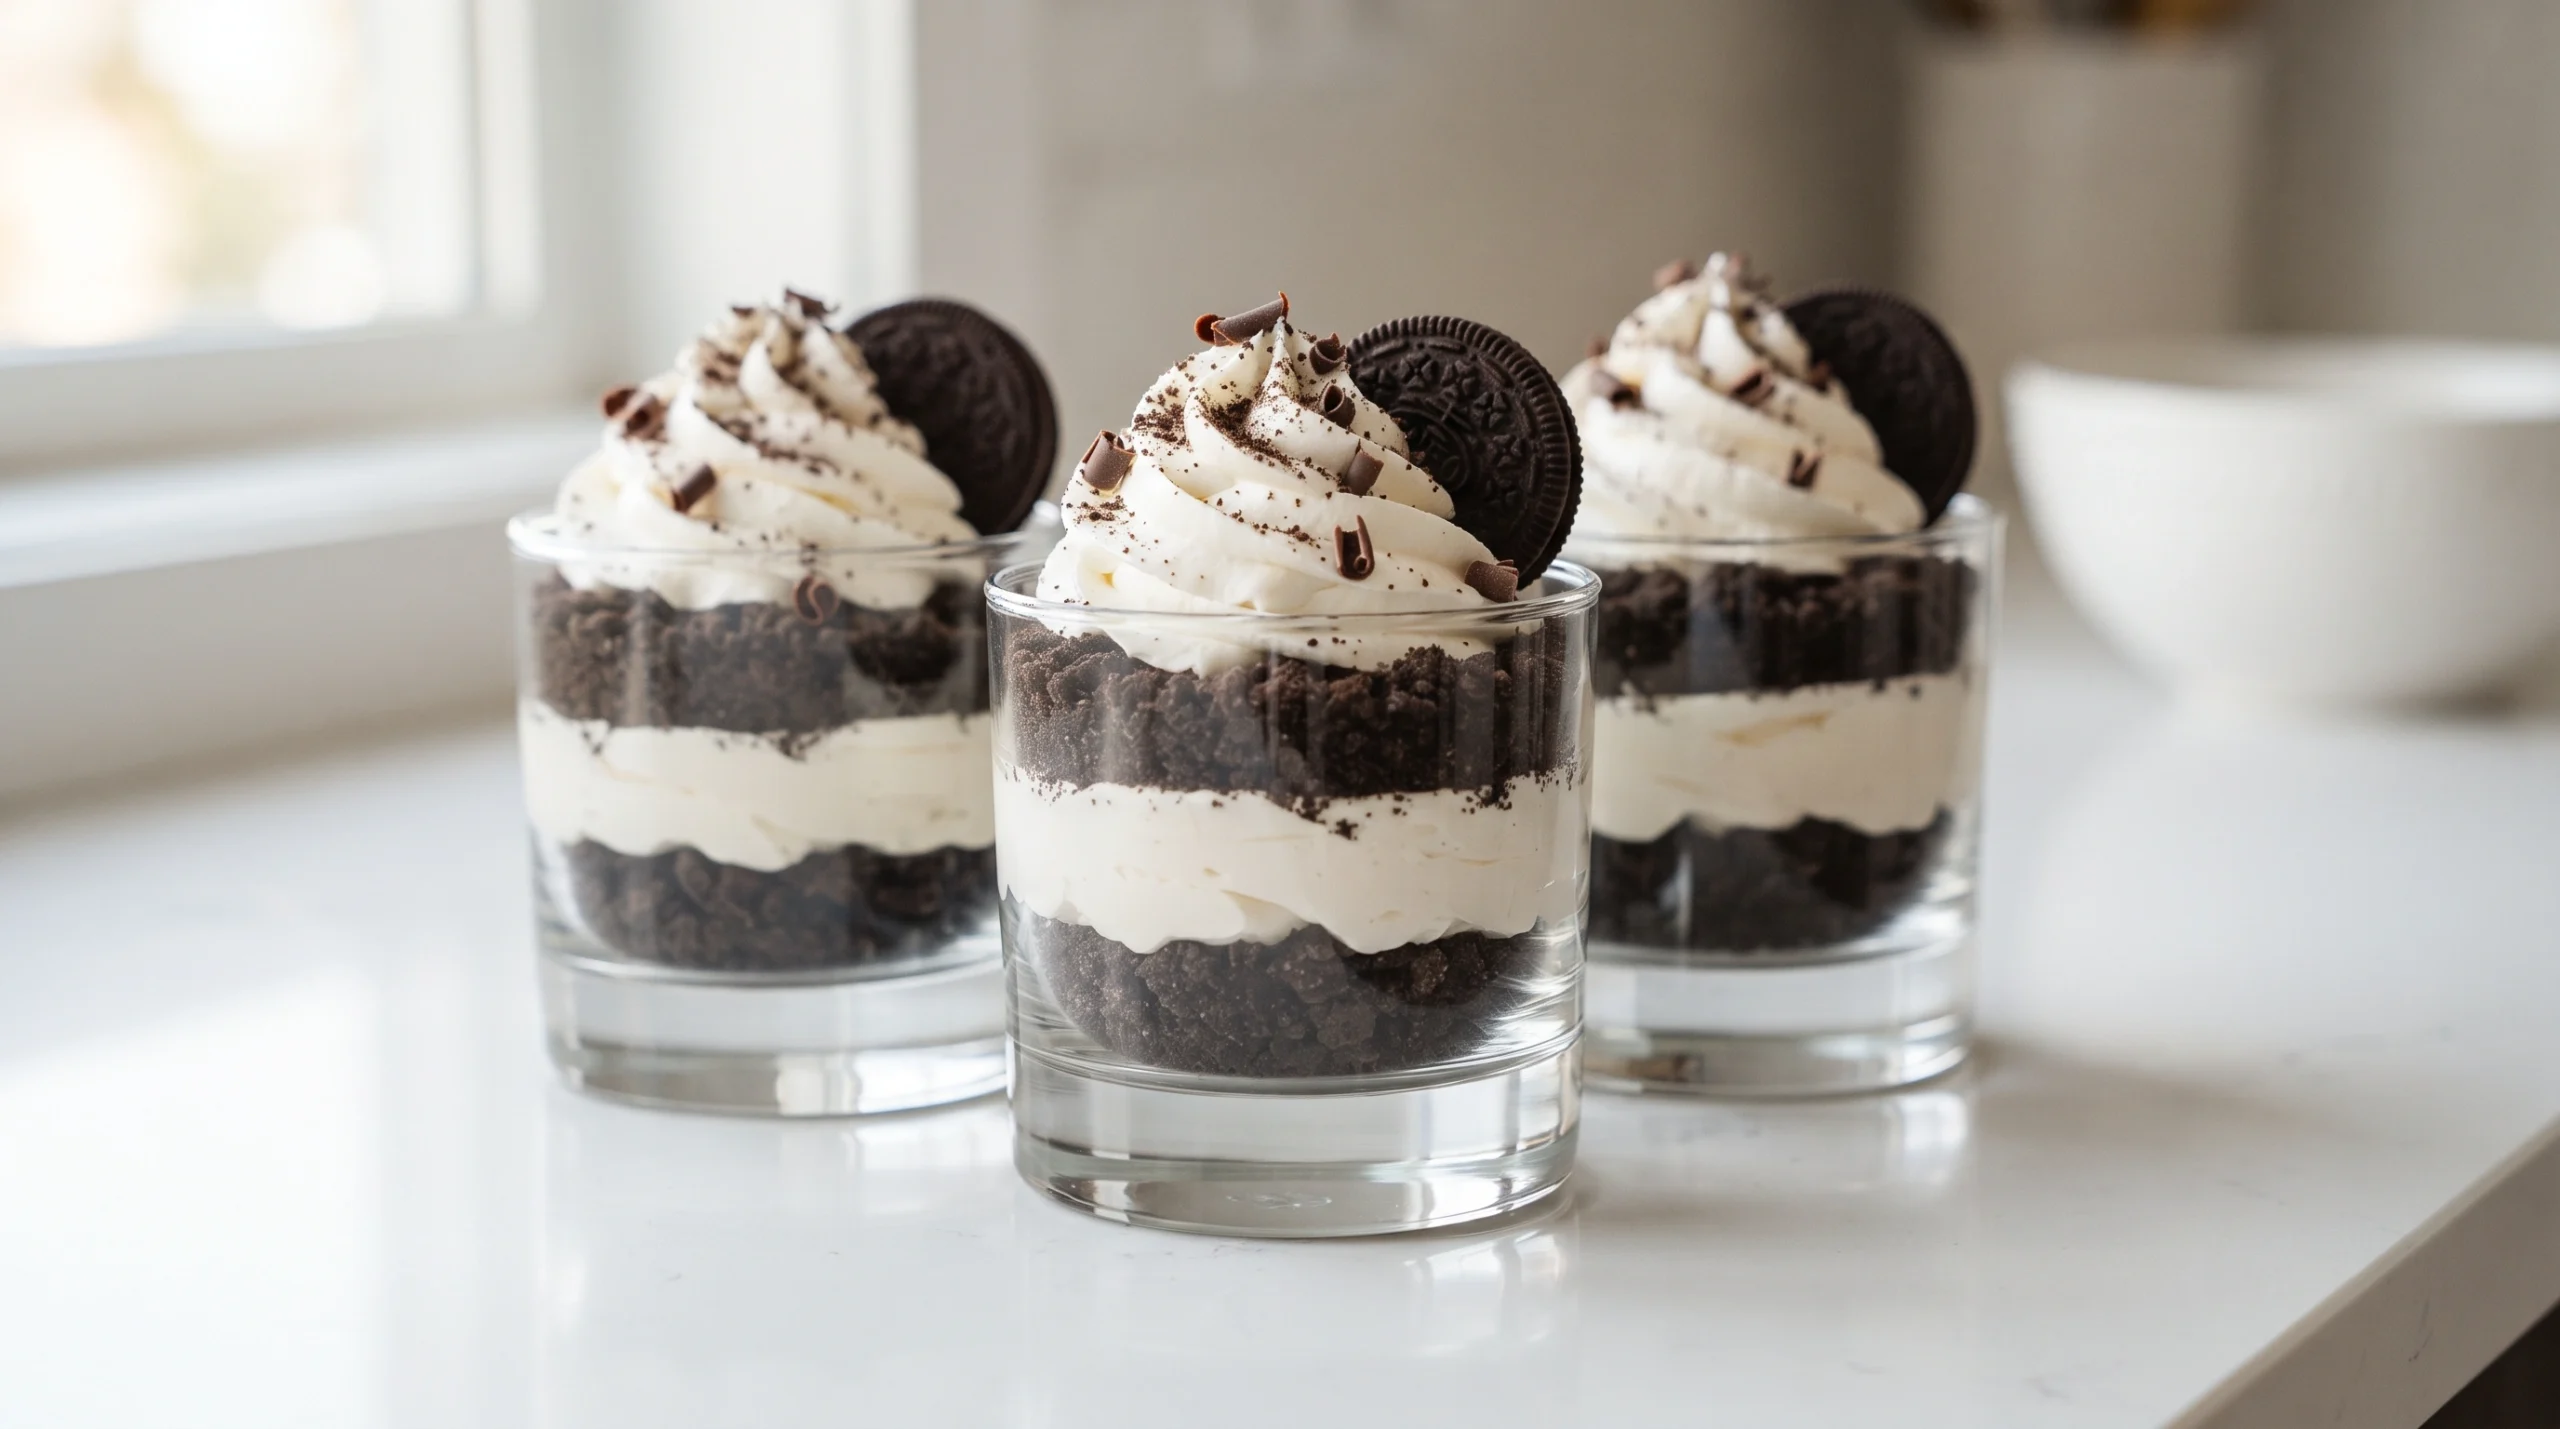
These Easy Oreo Cheesecake Cups are creamy, rich, and packed with chocolate cookie flavor. They’re an effortless no-bake dessert that’s perfect for parties, holidays, or whenever you’re craving something sweet.
Ready with just a few simple ingredients, these individual dessert cups can be made ahead of time and chilled until you’re ready to serve.
Why You’ll Love These Easy Oreo Cheesecake Cups
These Easy Oreo Cheesecake Cups are the perfect no-bake dessert for every occasion.
- No baking required
- Rich and creamy texture
- Ready with simple ingredients
- Perfect make-ahead dessert
- Great for parties
- Individual servings
- Beginner-friendly
- Easy to customize
Every spoonful combines smooth cheesecake filling with crunchy Oreo cookie crumbs for an irresistible dessert that’s always a crowd favorite.
If you enjoy creamy no-bake desserts, our Easy Banana Pudding Cups are another delicious recipe that’s perfect for entertaining.
A Classic No-Bake Dessert
Oreo cheesecake desserts have become popular because they combine two beloved favorites into one simple recipe. These individual cheesecake cups offer all the creamy richness of classic cheesecake with the familiar crunch and chocolate flavor of Oreo cookies, making them perfect for birthdays, holidays, and family gatherings.
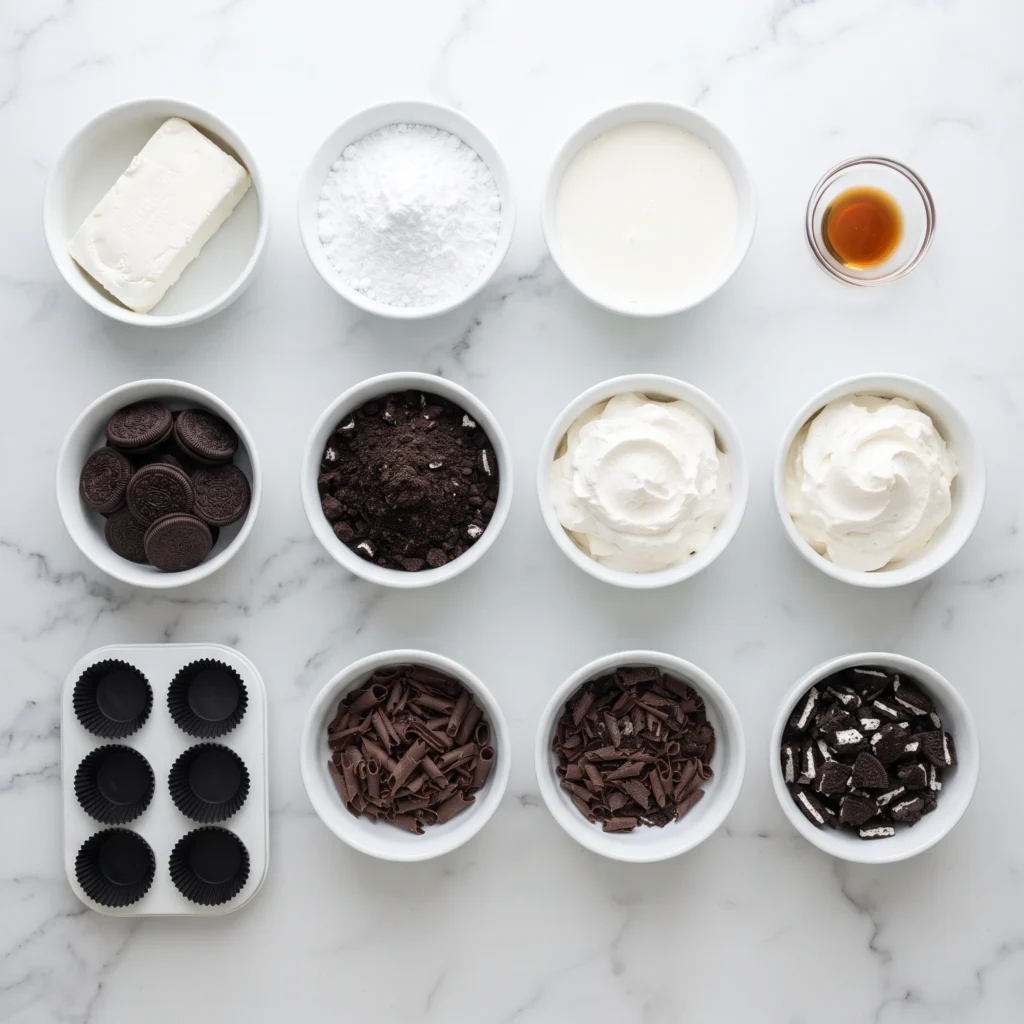
Ingredients
For the Cheesecake Filling
- 16 ounces cream cheese, softened
- 1 cup powdered sugar
- 1 teaspoon vanilla extract
- 1½ cups heavy whipping cream
- 18 Oreo cookies, crushed
For the Layers
- 12 Oreo cookies, crushed
- 8 whole Oreo cookies, halved
- Whipped cream for topping
- Chocolate shavings (optional)
Ingredient Notes
Cream Cheese
Use full-fat cream cheese at room temperature for the smoothest, creamiest filling.
Heavy Whipping Cream
Whipped heavy cream creates a light, fluffy cheesecake texture without baking.
Oreo Cookies
Regular Oreo cookies provide the perfect balance of chocolate cookie crumbs and creamy filling.
Vanilla Extract
Pure vanilla enhances the cheesecake flavor without overpowering the Oreo cookies.
If you’re looking for another rich dessert, our Easy Brownie Cheesecake Bars combine fudgy brownies with creamy cheesecake in every bite.
Equipment You’ll Need
These kitchen tools make preparing Oreo cheesecake cups quick and easy.
- Large mixing bowl – For making the cheesecake filling.
- Electric hand mixer or stand mixer – Creates a light and fluffy texture.
- Rubber spatula – Perfect for folding the whipped cream into the filling.
- Food processor or rolling pin – Easily crushes the Oreo cookies.
- Dessert cups or small glass jars – Perfect for serving individual portions.
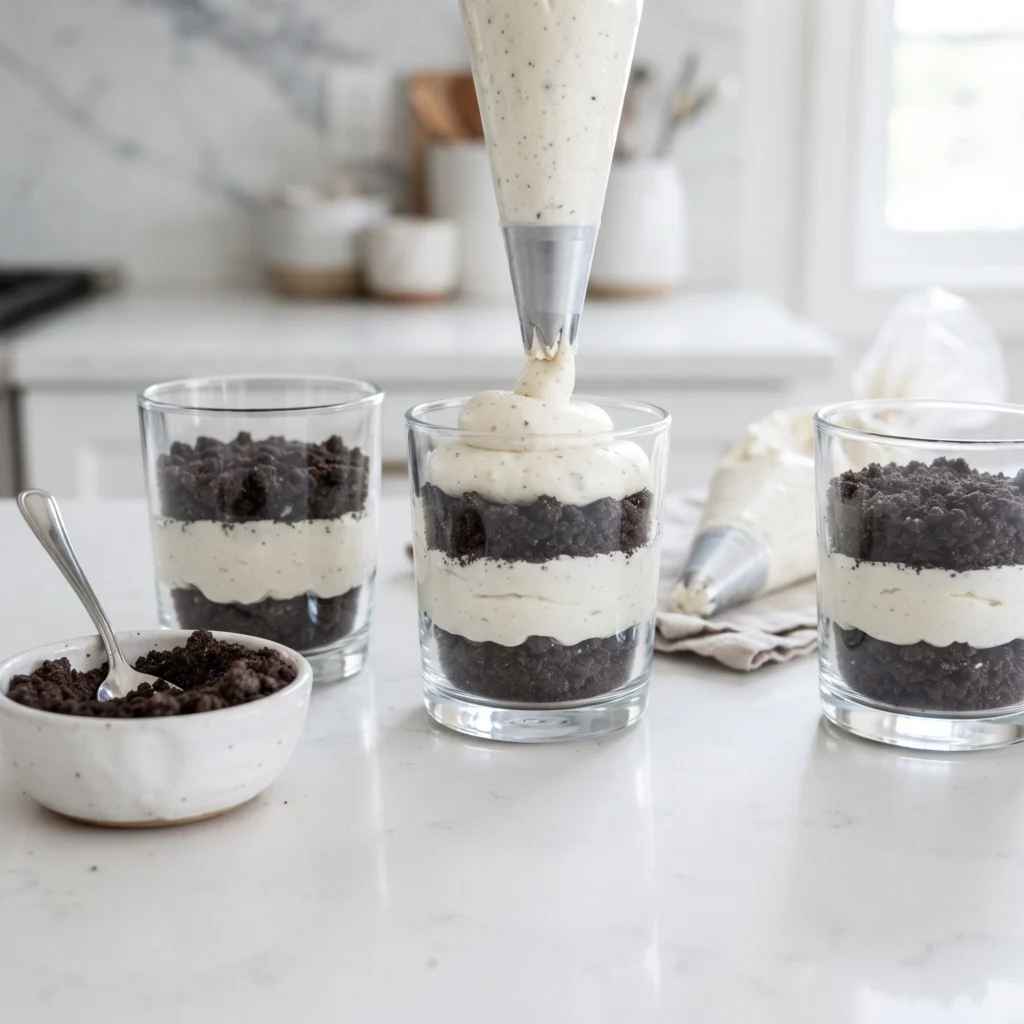
- Piping bag (optional) – Creates neat cheesecake layers.
A piping bag gives each dessert cup a clean, bakery-style appearance while making layering quick and simple.






How to Make Easy Oreo Cheesecake Cups
Step 1: Prepare the Oreo Crumbs
Crush the Oreo cookies into fine crumbs using a food processor or by placing them in a zip-top bag and crushing them with a rolling pin.
Set the crumbs aside.
Step 2: Make the Cheesecake Filling
Beat the softened cream cheese until smooth.
Add the powdered sugar and vanilla extract.
Mix until creamy.
In a separate bowl, whip the heavy cream until stiff peaks form.
Fold the whipped cream gently into the cream cheese mixture.
Fold in the crushed Oreo cookies.
Step 3: Assemble the Dessert Cups
Spoon a layer of crushed Oreo cookies into the bottom of each dessert cup.
Pipe or spoon the cheesecake filling over the crumbs.
Repeat the layers until the cups are full.
Step 4: Chill
Refrigerate the dessert cups for at least 2 hours, or until fully set.
Step 5: Garnish and Serve
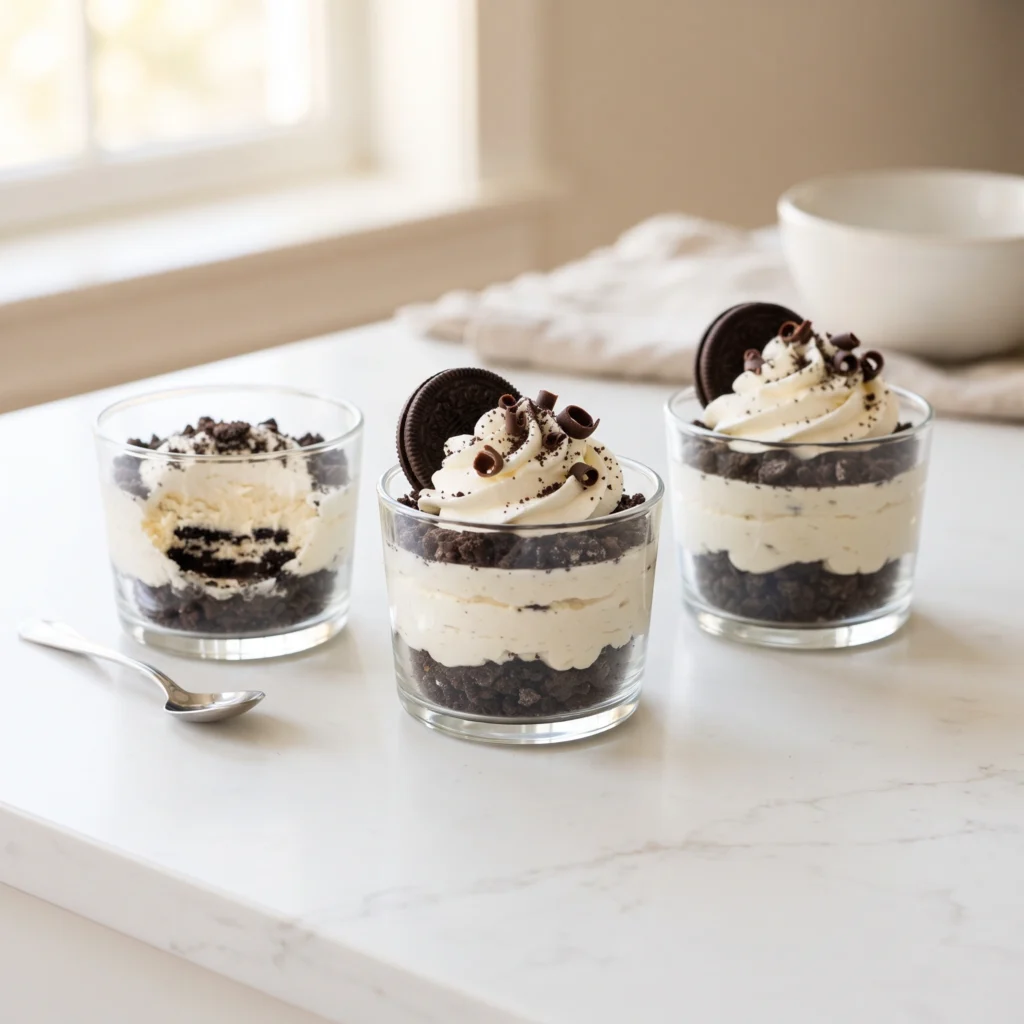
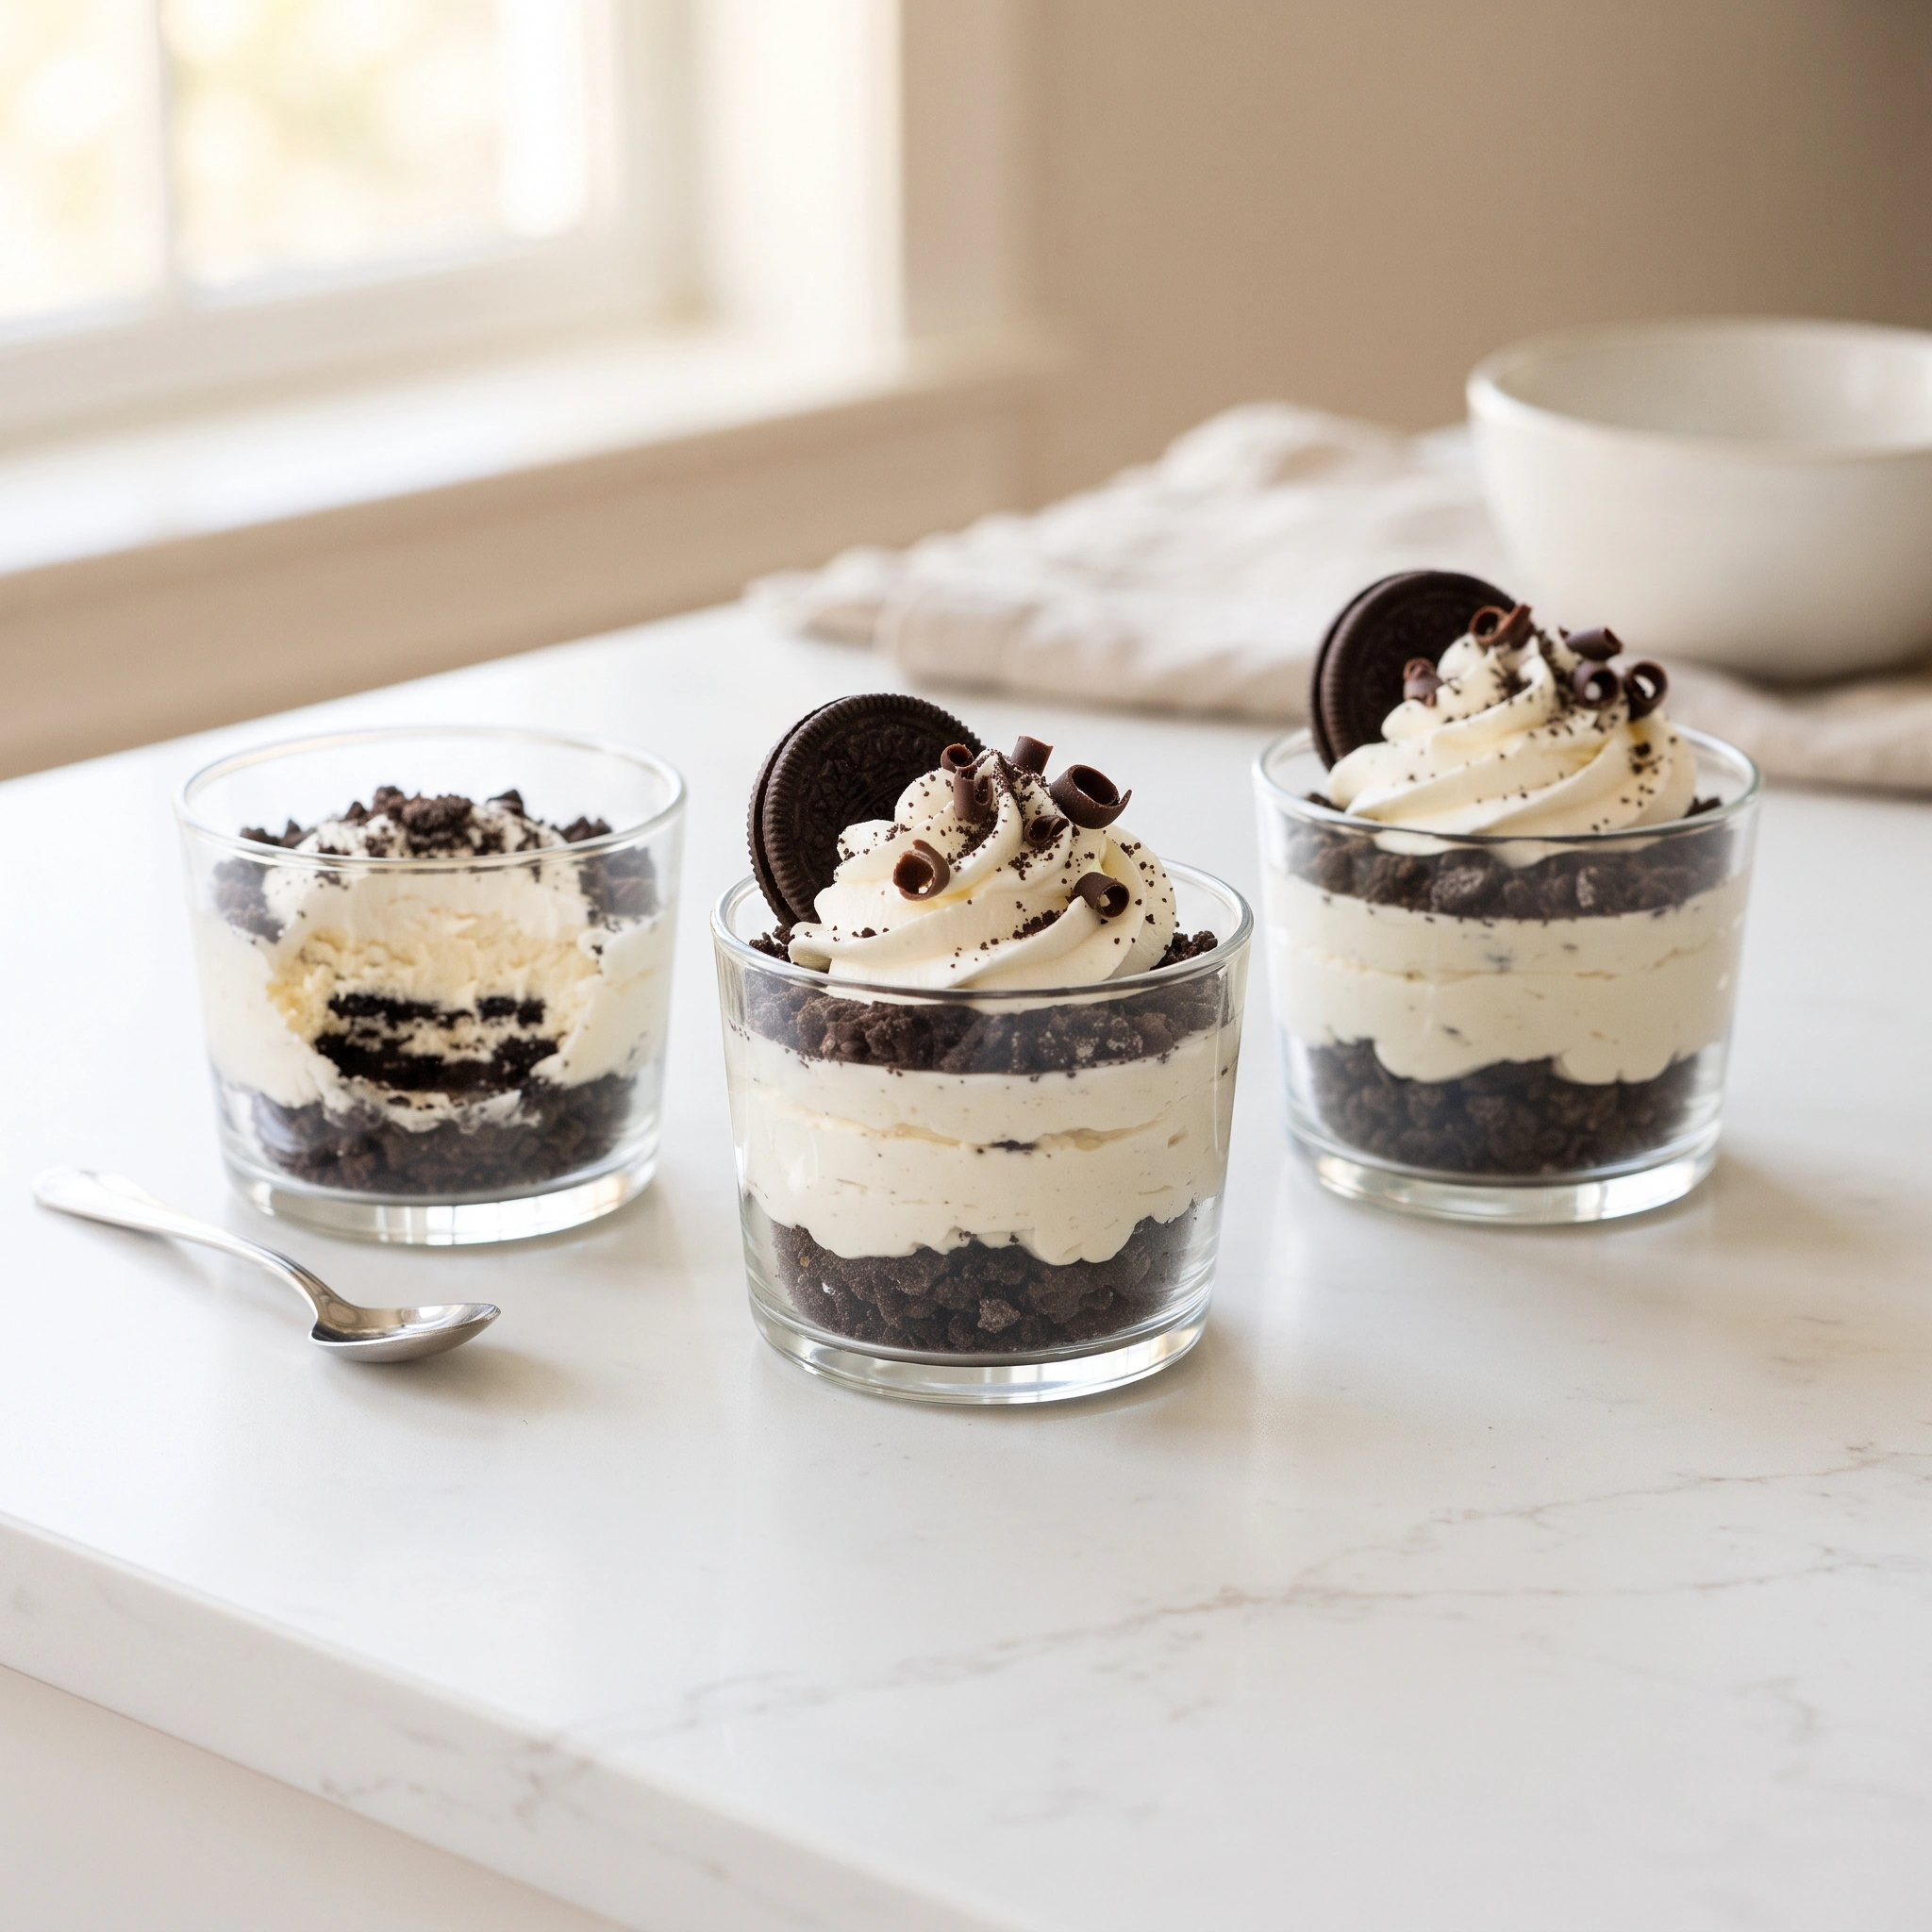
Top each cheesecake cup with whipped cream, an Oreo half, extra cookie crumbs, and chocolate shavings if desired.
Serve chilled.
Expert Tips
These simple tips will help your Easy Oreo Cheesecake Cups turn out smooth, creamy, and perfectly layered every time.
Use Room-Temperature Cream Cheese
Softened cream cheese blends much more smoothly, giving you a silky cheesecake filling without lumps.
Fold the Whipped Cream Gently
Use a spatula to gently fold the whipped cream into the cheesecake mixture. This keeps the filling light and airy.
Chill Before Serving
Refrigerate the dessert cups for at least 2 hours so the filling can firm up and the flavors can develop.
Layer Neatly
Pipe the cheesecake filling into the cups for clean, professional-looking layers that resemble bakery desserts.
If you enjoy rich no-bake desserts, our Easy Brownie Cheesecake Bars are another creamy favorite that’s perfect for chocolate lovers.
Common Mistakes
Using Cold Cream Cheese
Cold cream cheese doesn’t blend smoothly and often leaves small lumps in the filling.
Overmixing the Whipped Cream
Mix only until stiff peaks form. Overwhipping can make the whipped cream grainy.
Skipping the Chill Time
The cheesecake filling needs time to set properly before serving.
Crushing the Cookies Too Finely
Leave a few slightly larger Oreo pieces for added crunch and texture between the layers.
Easy Variations
These Easy Oreo Cheesecake Cups are easy to customize.
Double Chocolate Oreo Cups
Add mini chocolate chips between the cheesecake layers.
Peanut Butter Oreo Cheesecake Cups
Mix creamy peanut butter into the cheesecake filling for a rich twist.
Mint Oreo Cheesecake Cups
Use Mint Oreo cookies and garnish with chocolate curls.
Cookies and Cream Cheesecake Cups
Fold extra chopped Oreo pieces into the filling for even more crunch.
Mini Cheesecake Trifles
Layer the cheesecake mixture with chocolate pudding and Oreo crumbs for an elegant layered dessert.
What to Serve With Easy Oreo Cheesecake Cups
These creamy dessert cups pair beautifully with coffee, fruit, and other homemade desserts.
Serve them with freshly brewed coffee or espresso for a classic dessert pairing.
For a refreshing contrast, enjoy them with our Classic Homemade Lemonade for Fresh and Tangy Drinks or Sparkling Strawberry Glitter Lemonade.
If you’re creating a dessert table, pair these cheesecake cups with our Easy Brownie Cheesecake Bars, Easy Red Velvet Cookies, or Soft Chocolate Crinkle Cookies for a delicious assortment of homemade treats.
Fresh strawberries or raspberries also make a beautiful garnish and add a fresh balance to the rich cheesecake.
Storage
Cover the dessert cups tightly with plastic wrap or lids.
Refrigerate for up to 4 days.
For the freshest presentation, add the whipped cream topping and Oreo garnish just before serving.
According to the USDA Food Safety and Inspection Service, dairy-based desserts should remain refrigerated until ready to serve.
Freezing
Freeze the cheesecake cups without whipped cream for up to 2 months.
Thaw overnight in the refrigerator before serving.
Add the whipped cream and fresh Oreo garnish after thawing for the best texture and appearance.
Frequently Asked Questions
Can I make Oreo Cheesecake Cups ahead of time?
Yes. They’re an excellent make-ahead dessert and can be prepared one day before serving.
Can I use store-bought whipped topping?
Yes. Whipped topping works well, although freshly whipped cream provides a lighter, richer flavor.
Do I need to bake these cheesecake cups?
No. This is a completely no-bake dessert.
Can I use different Oreo flavors?
Absolutely. Golden Oreos, Mint Oreos, Birthday Cake Oreos, and Peanut Butter Oreos all work wonderfully.
Can I make one large cheesecake instead?
Yes. Press the cookie crumbs into a springform pan and spread the cheesecake filling over the crust for a no-bake Oreo cheesecake.
Trusted Resources
For baking guidance and food safety recommendations, these trusted organizations provide reliable information:
- USDA Food Safety and Inspection Service — Safe storage recommendations for dairy-based desserts.
- American Dairy Association — Tips for working with cream cheese, whipped cream, and dairy ingredients.
- King Arthur Baking — Expert techniques for no-bake cheesecakes and creamy dessert fillings.
Final Thoughts
These Easy Oreo Cheesecake Cups are rich, creamy, and incredibly simple to make with just a handful of ingredients. Whether you’re serving them at a party, holiday gathering, or weeknight dessert, these no-bake treats are guaranteed to disappear fast.
Easy Oreo Cheesecake Cups (No Bake Dessert Recipe)
Ingredients
Method
- Crush the Oreo cookies into fine crumbs using a food processor or by placing them in a zip-top bag and crushing them with a rolling pin.
- Beat the softened cream cheese until smooth.
- Add the powdered sugar and vanilla extract and mix until creamy.
- In a separate bowl, whip the heavy cream until stiff peaks form.
- Gently fold the whipped cream into the cream cheese mixture.
- Fold in the crushed Oreo cookies.
- Spoon a layer of crushed Oreo cookies into the bottom of each dessert cup.
- Pipe or spoon the cheesecake filling over the crumbs.
- Repeat the layers until the dessert cups are full.
- Refrigerate for at least 2 hours or until fully set.
- Top each dessert cup with whipped cream, an Oreo half, extra cookie crumbs, and chocolate shavings if desired.
- Serve chilled.
Notes
- Use room-temperature cream cheese for the smoothest filling.
- Fold the whipped cream gently to keep the filling light and fluffy.
- Chill for at least 2 hours before serving.
- Pipe the filling for cleaner layers.
- Refrigerate for up to 4 days.
- Freeze without the whipped cream topping for up to 2 months.
Find more in Dessert