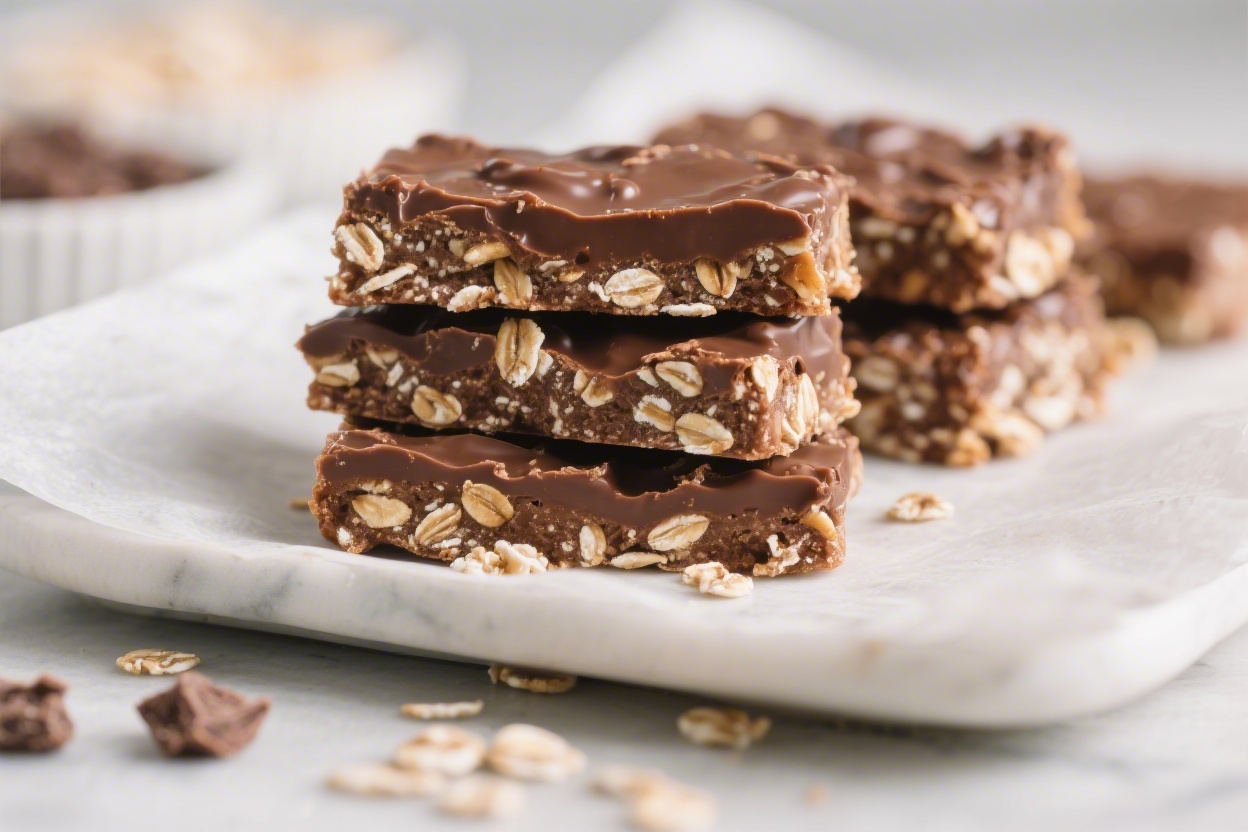
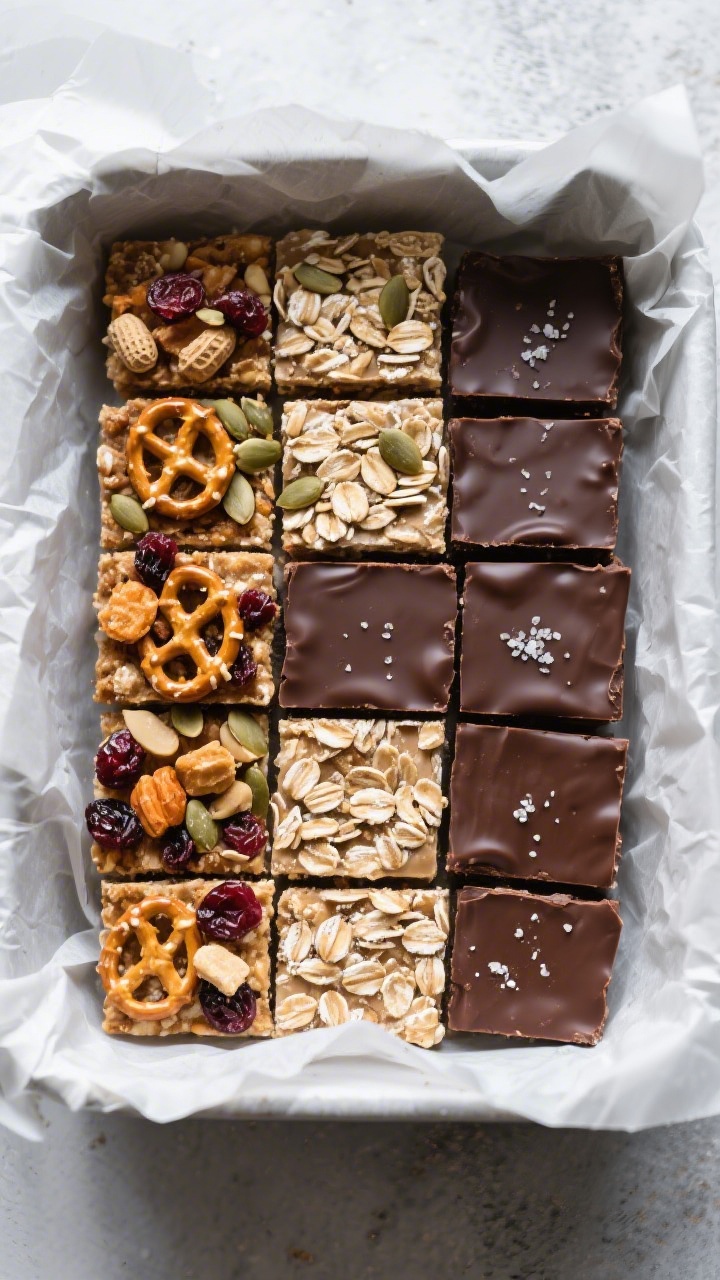
If you want a quick homemade snack that tastes like a dessert, these no bake chocolate oat bars are the answer. They come together in minutes, use pantry staples, and set up beautifully in the fridge. The texture is chewy with a little snap from the chilled chocolate top, and the flavor is rich without being too sweet.
Make them on a Sunday, and you’ll have grab-and-go bites all week. They’re also easy to customize for different tastes or dietary needs.
What Makes This Special
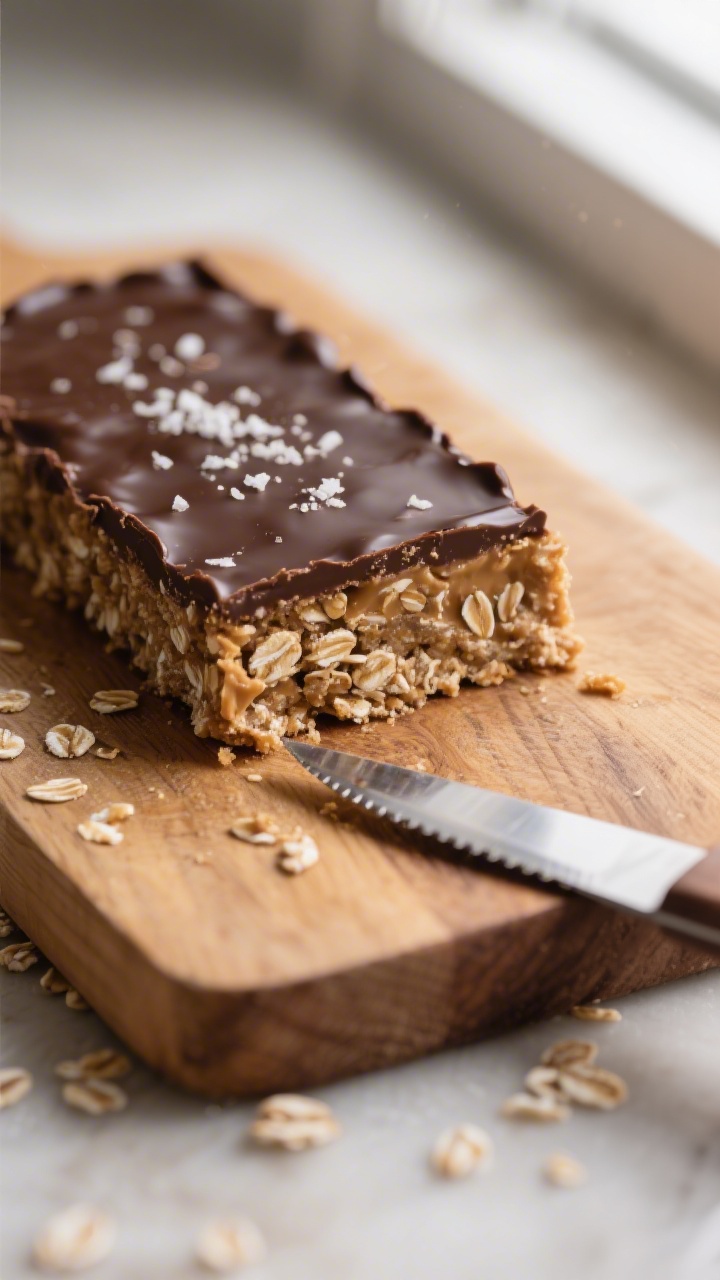
These bars strike the sweet spot between treat and wholesome snack. They’re made with oats, nut butter, chocolate, and a few simple add-ins—nothing fussy or hard to find.
Because there’s no baking, you save time and avoid heating up the kitchen. The layers look impressive but are truly simple to assemble. Best of all, they hold together well and pack nicely for school, work, or road trips.
- Chewy, satisfying texture: The oat and nut butter base stays soft but sturdy, with just the right bite.
- Quick to make: About 15 minutes of hands-on time, then chill.
- Easy to adapt: Swap nut butters, add seeds, or make them dairy-free or gluten-free.
- Great for meal prep: Keeps well in the fridge and freezer.
What You’ll Need
- Rolled oats (old-fashioned): 3 cups.
Avoid quick oats for the best chewy texture.
- Nut butter: 1 cup creamy peanut butter or almond butter. Choose unsweetened if possible.
- Honey or maple syrup: 2/3 cup for sweetness and binding.
- Butter or coconut oil: 1/2 cup, melted. This helps the bars set and adds richness.
- Vanilla extract: 2 teaspoons for warm flavor.
- Salt: 1/2 teaspoon to balance the sweetness.
- Chocolate chips or chopped chocolate: 1 1/2 cups for the topping.
- Optional add-ins: 1/2 cup chopped nuts, 1/3 cup shredded coconut, 2 tablespoons chia or flax seeds, or a handful of dried fruit.
- Flaky sea salt (optional): For sprinkling on top.
Instructions
- Prepare the pan: Line an 8×8-inch or 9×9-inch square pan with parchment paper, leaving an overhang on two sides for easy lifting later.
- Mix the base: In a large bowl, stir together rolled oats and any dry add-ins (nuts, seeds, or coconut).
Set aside.
- Warm the binder: In a small saucepan over low heat, combine nut butter, honey or maple syrup, melted butter or coconut oil, vanilla, and salt. Stir until smooth and just warmed through, about 2–3 minutes. Do not boil.
- Combine: Pour the warm mixture over the oats.
Use a spatula to mix until every oat is coated and the mixture is cohesive. If using dried fruit, fold it in now.
- Press into pan: Transfer the oat mixture to the prepared pan. Press firmly into an even layer.
Use the back of a measuring cup to compact it well; this helps the bars hold together.
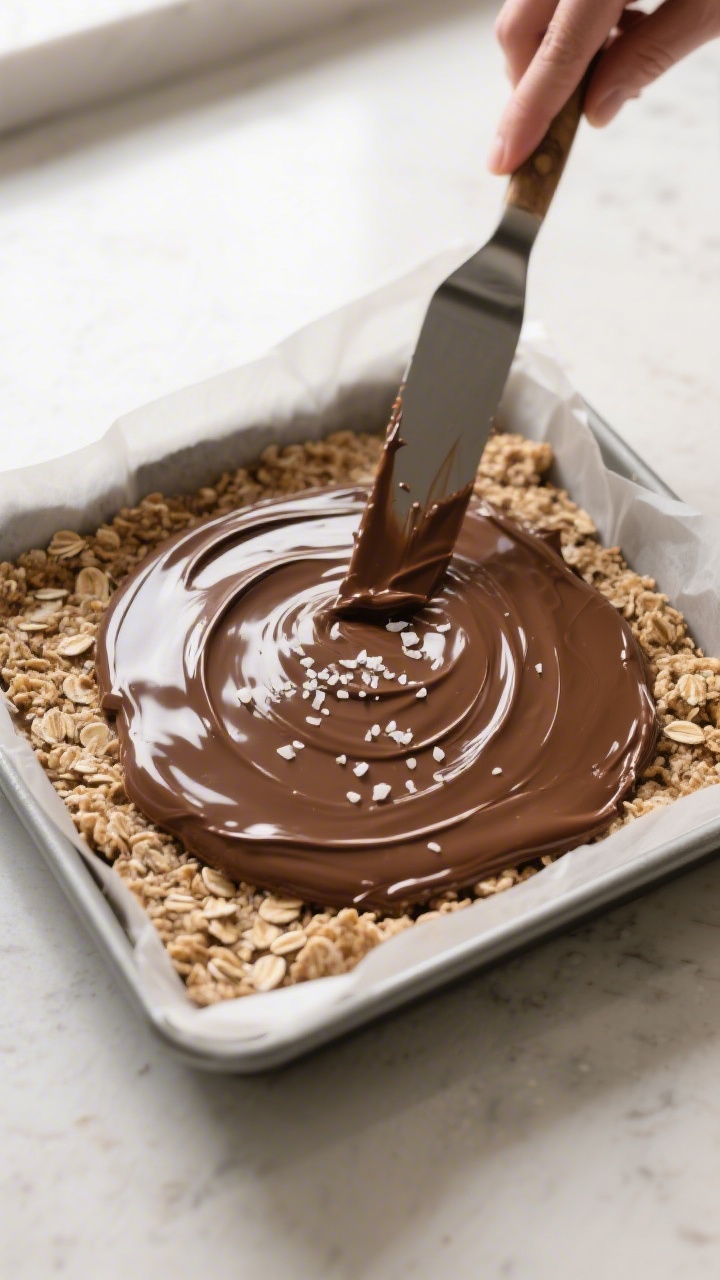
- Melt the chocolate: Place chocolate chips in a microwave-safe bowl and heat in 20–30 second bursts, stirring between each, until smooth. Alternatively, melt gently over a double boiler.
- Top the bars: Pour the melted chocolate over the oat layer and spread evenly with a spatula. Sprinkle flaky sea salt on top, if using.
- Chill: Refrigerate for 1–2 hours, or until the chocolate is set and the base is firm.
- Slice: Lift the slab from the pan using the parchment overhang.
Place on a cutting board. For clean cuts, run a sharp knife under warm water, dry it, and slice into bars or squares.
- Serve and store: Enjoy right away, or store as directed below.
Storage Instructions
- Refrigerator: Store in an airtight container for up to 1 week. Layer with parchment to prevent sticking.
- Freezer: Freeze for up to 2–3 months.
Wrap individual bars for easy thaw-and-go snacks. Thaw in the fridge or at room temperature for 10–15 minutes.
- Room temperature: If your kitchen is cool, bars can sit out for a few hours. In warm weather, keep them chilled so the chocolate top doesn’t soften.
Benefits of This Recipe
- Minimal equipment: One bowl, one saucepan, and a pan to set the bars.
Cleanup is easy.
- Pantry-friendly: Uses staples you likely have, so it’s a great last-minute option.
- Balanced snack: Oats offer fiber, and nut butter adds fats and protein to keep you satisfied.
- No bake: Saves time and makes it summer-friendly.
- Kid-approved: Simple flavors and a chewy texture that’s easy to love.
Common Mistakes to Avoid
- Using quick oats: They can make the bars powdery and less chewy. Stick with rolled oats.
- Overheating the binder: Boiling can cause separation and a greasy texture. Warm gently until smooth.
- Not pressing firmly: If you don’t compact the base, the bars may crumble.
Press down hard before adding the chocolate.
- Cutting too soon: If the bars aren’t fully chilled, the top will smear and the base won’t hold. Chill until set.
- Too many add-ins: Extras are great, but overloading can prevent the bars from sticking together. Keep total add-ins to around 1 cup.
Variations You Can Try
- Peanut Butter Pretzel: Add 1 cup crushed pretzels to the oat mixture and use peanut butter.
Sprinkle a few pretzel bits on top of the chocolate.
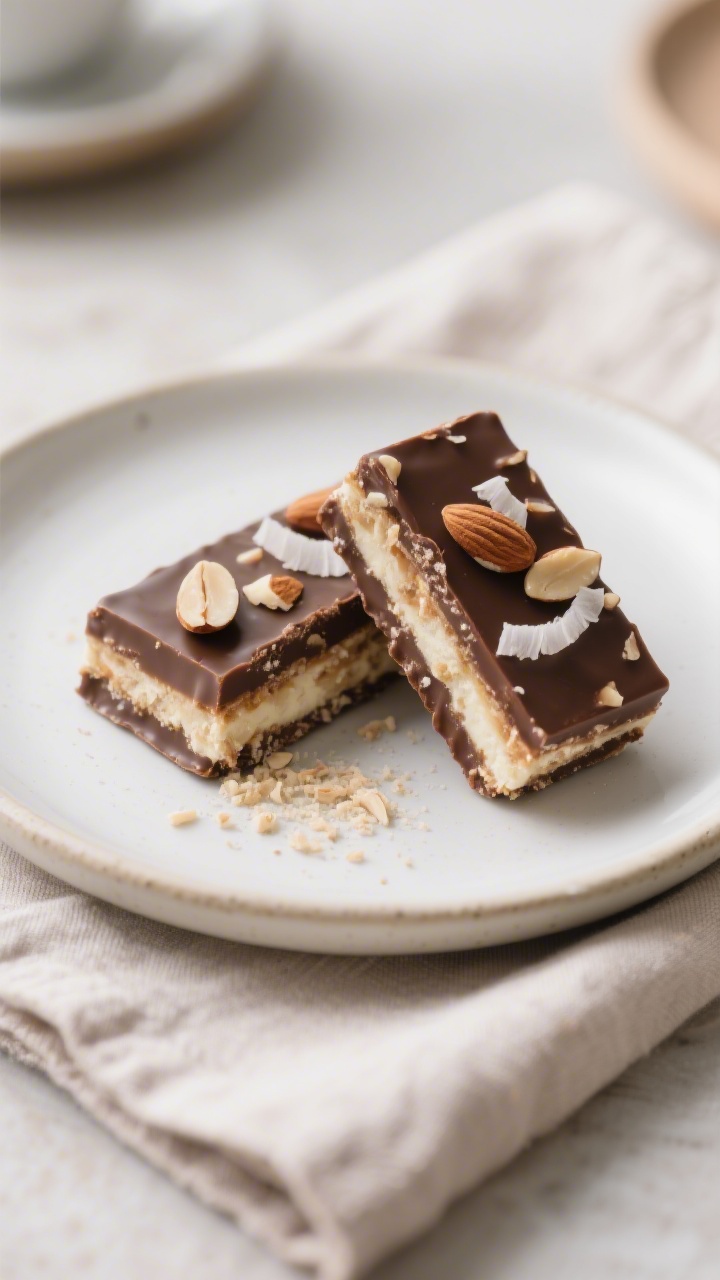
- Almond Joy-Inspired: Use almond butter, add 1/3 cup shredded coconut and 1/4 cup chopped almonds to the base. Top with extra almonds before chilling.
- Trail Mix: Fold in 1/4 cup raisins or dried cranberries, 1/4 cup chopped nuts, and a few pumpkin seeds for crunch.
- Mocha: Stir 1–2 teaspoons instant espresso powder into the melted chocolate for a coffee note.
- Seed Lover’s: Use sunflower seed butter, and add chia, hemp, and sesame seeds for a nut-free school-friendly version.
- Double Chocolate: Mix 2 tablespoons cocoa powder into the warm binder before it hits the oats for a deeper chocolate flavor.
- Protein Boost: Add 1/4–1/3 cup vanilla or chocolate protein powder to the oats. If the mixture gets too dry, add a splash more melted butter or maple syrup.
FAQ
Can I use quick oats instead of rolled oats?
You can, but the texture won’t be as chewy and the bars may feel denser.
For the best result, use rolled oats. If quick oats are all you have, reduce the amount slightly or add a bit more binder to keep the mixture from getting chalky.
How do I make these dairy-free?
Use coconut oil instead of butter and choose dairy-free chocolate. Everything else in the base can remain the same.
The bars will set just as well and taste rich and smooth.
What if I don’t have honey or maple syrup?
Brown rice syrup works well and creates a firmer set. Agave also works but may be a touch sweeter, so consider reducing it slightly. Avoid granulated sugar here, as it won’t bind the oats properly without cooking.
How do I prevent the chocolate layer from cracking when cutting?
Let the bars sit at room temperature for 5–10 minutes after removing from the fridge, then use a warm, sharp knife.
Wipe and rewarm the knife between cuts. Press straight down rather than sawing for cleaner edges.
Can I skip the chocolate topping?
Yes. The bars will still be tasty and less sweet.
If skipping, consider adding 2–3 tablespoons of mini chocolate chips to the oat mixture so you still get a chocolate bite throughout.
Why are my bars crumbly?
They likely need more binder or more compression. Add a little extra melted butter or syrup to the mixture and press the base more firmly into the pan. Also, ensure you chilled them fully before slicing.
What pan size works best?
An 8×8-inch pan yields thicker bars, while a 9×9-inch pan makes slightly thinner ones.
You can also double the recipe for a 9×13-inch pan. Adjust chilling time as needed.
Can I reduce the sweetness?
Yes. Cut the honey or maple syrup by 2–3 tablespoons and add a splash more melted butter or coconut oil to make up the moisture.
Using dark chocolate (60–70% cacao) also keeps the overall sweetness in check.
Are these gluten-free?
They can be. Use certified gluten-free oats and check your chocolate label. Everything else is naturally gluten-free.
How long do they last?
In the fridge, they keep well for up to a week.
In the freezer, they’re good for 2–3 months. Wrap tightly to prevent freezer burn and flavor transfer.
In Conclusion
These no bake chocolate oat bars are the kind of recipe you’ll make once and then memorize. They’re quick, flexible, and consistently delicious, with a chewy base and a smooth chocolate top.
Keep a batch on hand for busy days, lunchboxes, or a little late-night sweet. With simple ingredients and no oven required, they’re a reliable go-to snack that always hits the spot.
Find more in Dessert