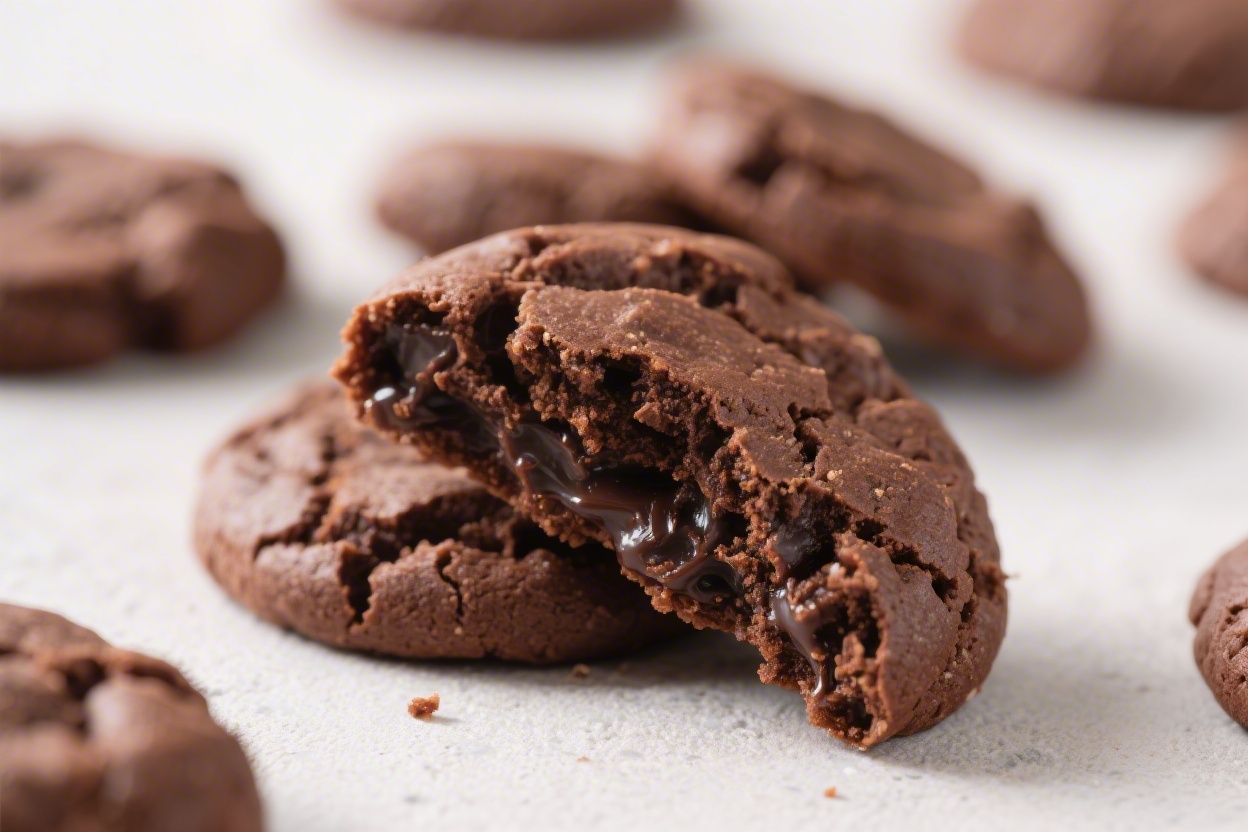
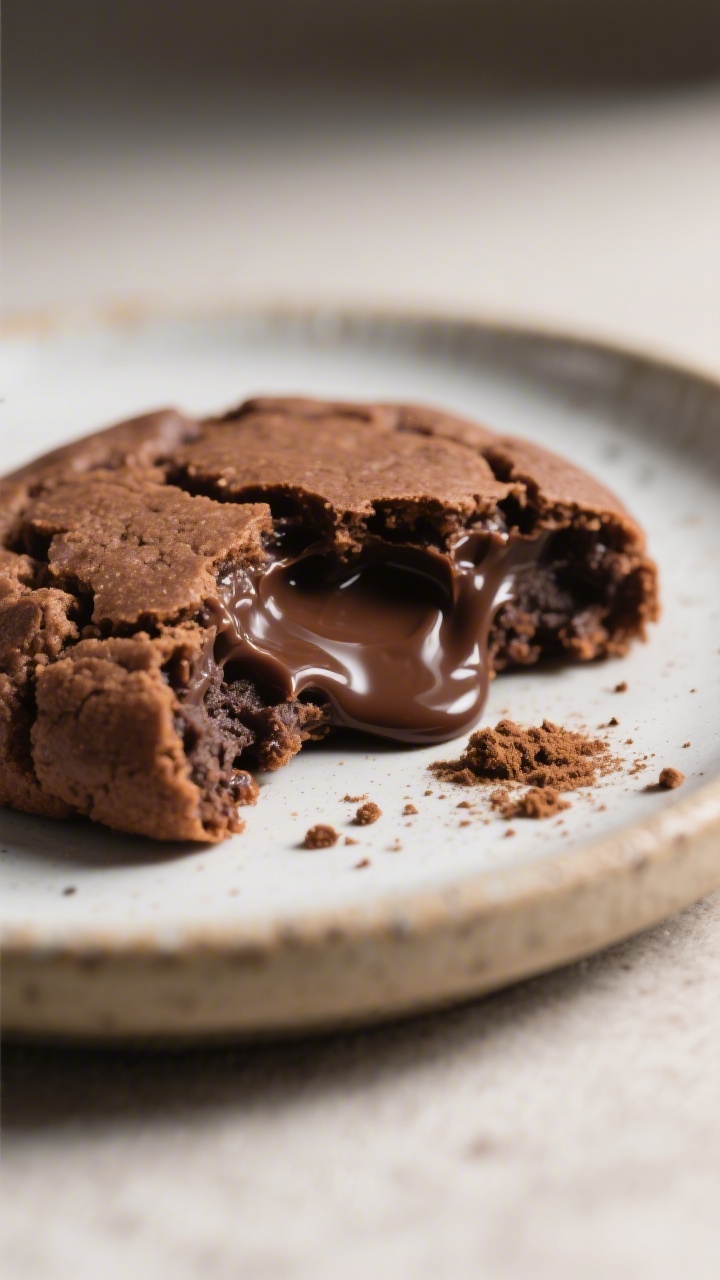
If you’ve ever wished a brownie could be a cookie, these are your sweet spot. They’re shiny, crackly on top, crisp at the edges, and perfectly fudgy in the center—just like a corner brownie in cookie form. The batter comes together with pantry staples and a whisk, no fancy gear needed.
Chill the dough, scoop, bake, and let that chocolatey aroma take over your kitchen. These cookies deliver the best of both worlds without any fuss.
What Makes This Special
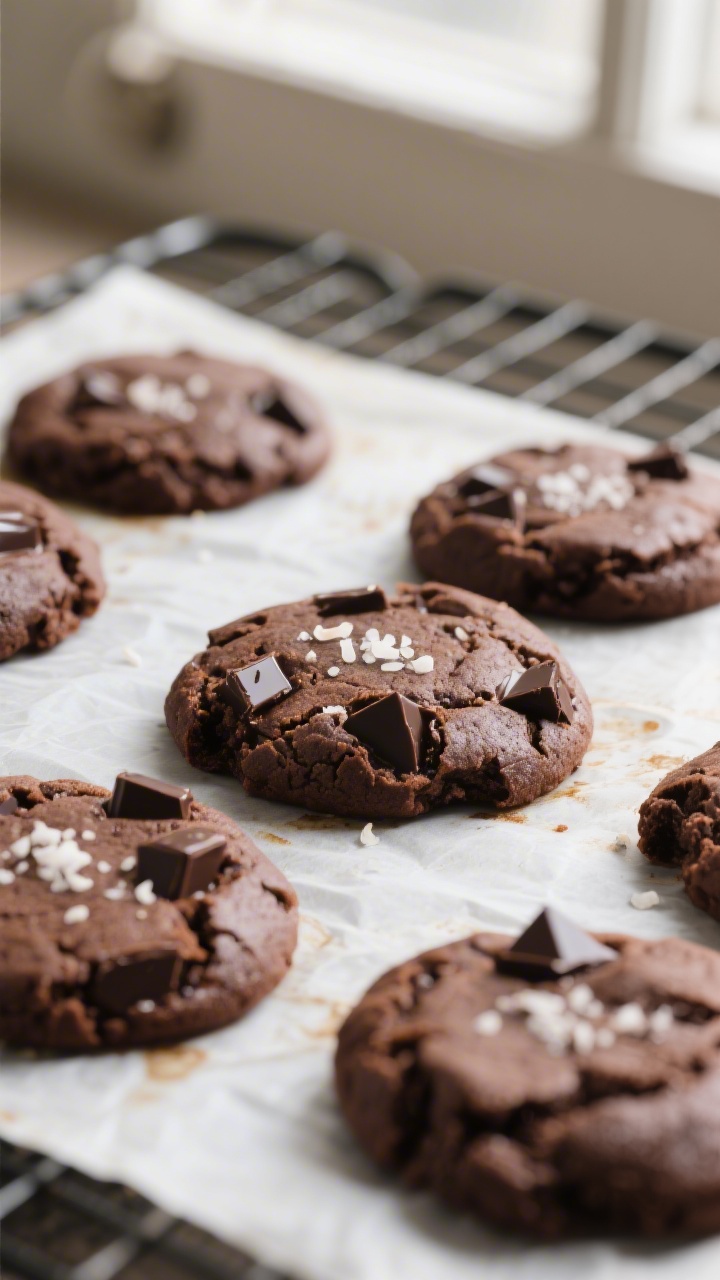
These cookies have the hallmark brownie gloss on top thanks to a well-whipped sugar-and-egg mixture. That gives them the signature crinkle and chewy pull.
With melted dark chocolate and cocoa, they pack real chocolate depth, not just sweetness. A short chill firms the batter so the cookies don’t spread too thin, creating that crisp edge and gooey middle. You’ll get consistent results every time with a few simple timing and temperature cues.
Shopping List
- Dark chocolate (60–70% cocoa), chopped – 8 oz (225 g)
- Unsalted butter – 1/2 cup (113 g)
- Granulated sugar – 3/4 cup (150 g)
- Light brown sugar – 1/2 cup (100 g), packed
- Large eggs – 2, at room temperature
- Vanilla extract – 2 teaspoons
- All-purpose flour – 3/4 cup (95 g)
- Unsweetened cocoa powder (natural or Dutch) – 1/4 cup (25 g)
- Baking powder – 1/2 teaspoon
- Kosher salt – 1/2 teaspoon
- Espresso powder (optional) – 1 teaspoon
- Flaky sea salt (optional) – for finishing
- Chocolate chips or chunks (optional) – 1/2 cup for extra pockets
Step-by-Step Instructions
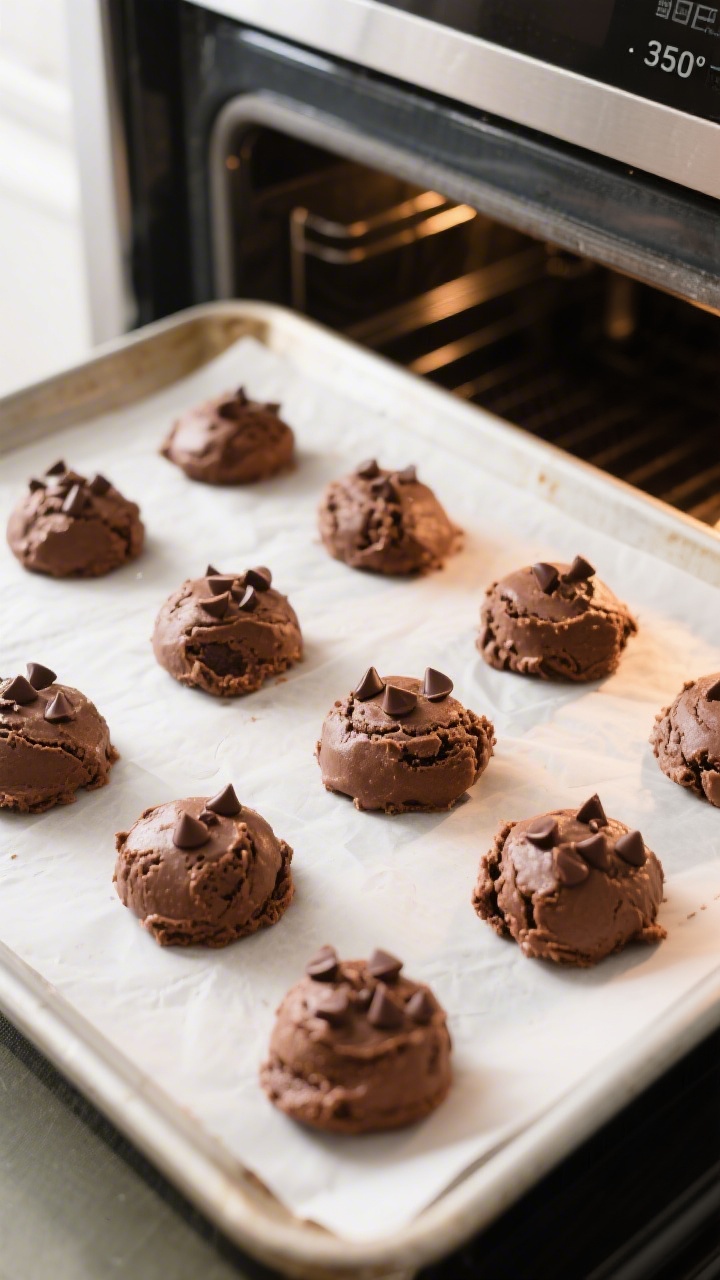
- Prep your tools. Line two baking sheets with parchment paper.
Set the oven to 350°F (175°C) but wait to preheat until the dough is chilling. Have a medium saucepan and a large mixing bowl ready.
- Melt chocolate and butter. In a heatproof bowl over a pot of barely simmering water, melt the dark chocolate and butter, stirring until smooth. Remove from heat and let it cool for 10 minutes.
It should be warm, not hot, to avoid scrambling the eggs later.
- Whisk eggs and sugars. In a large bowl, whisk the granulated sugar, brown sugar, and eggs for 2–3 minutes until the mixture looks lighter and slightly thick. This step helps create that shiny, crackly top.
- Add vanilla and chocolate. Whisk in the vanilla. Slowly stream in the melted chocolate-butter mixture while whisking.
Mix until fully combined and glossy.
- Combine dry ingredients. In a separate bowl, whisk the flour, cocoa powder, baking powder, kosher salt, and espresso powder (if using). This prevents clumps and overmixing later.
- Fold the batter. Add the dry ingredients to the wet and fold gently with a spatula just until no dry streaks remain. If you’re adding chips or chunks, fold them in now.
The batter will be thick and shiny—like brownie batter.
- Chill briefly. Cover and chill the bowl in the fridge for 20–30 minutes. You want the batter scoopable but not stiff. This helps control spread for crisp edges and a fudgy center.
- Preheat the oven. While the dough chills, preheat to 350°F (175°C).
Position racks in the upper and lower thirds.
- Scoop. Use a medium cookie scoop or spoon to portion about 1 1/2 tablespoons of dough per cookie, spacing at least 2 inches apart. If you like, press a few extra chocolate bits on top for a bakery look.
- Bake. Bake 8–10 minutes, rotating sheets halfway through. The cookies should be puffed with glossy, crackly tops and slightly set edges.
The centers will still look soft—this is key for fudginess.
- Finish with salt. If using, sprinkle a pinch of flaky sea salt on hot cookies. The contrast makes the chocolate flavor pop.
- Cool. Let cookies cool on the sheet for 5–7 minutes to finish setting, then transfer to a wire rack. They’ll firm up but stay gooey inside.
Keeping It Fresh
Let the cookies cool completely, then store in an airtight container at room temperature for 3–4 days.
Slip in a slice of sandwich bread or a piece of parchment with a few marshmallows to help maintain moisture. For longer storage, freeze baked cookies in a single layer until solid, then bag them for up to 2 months. Rewarm at 300°F (150°C) for 3–4 minutes to revive the texture.
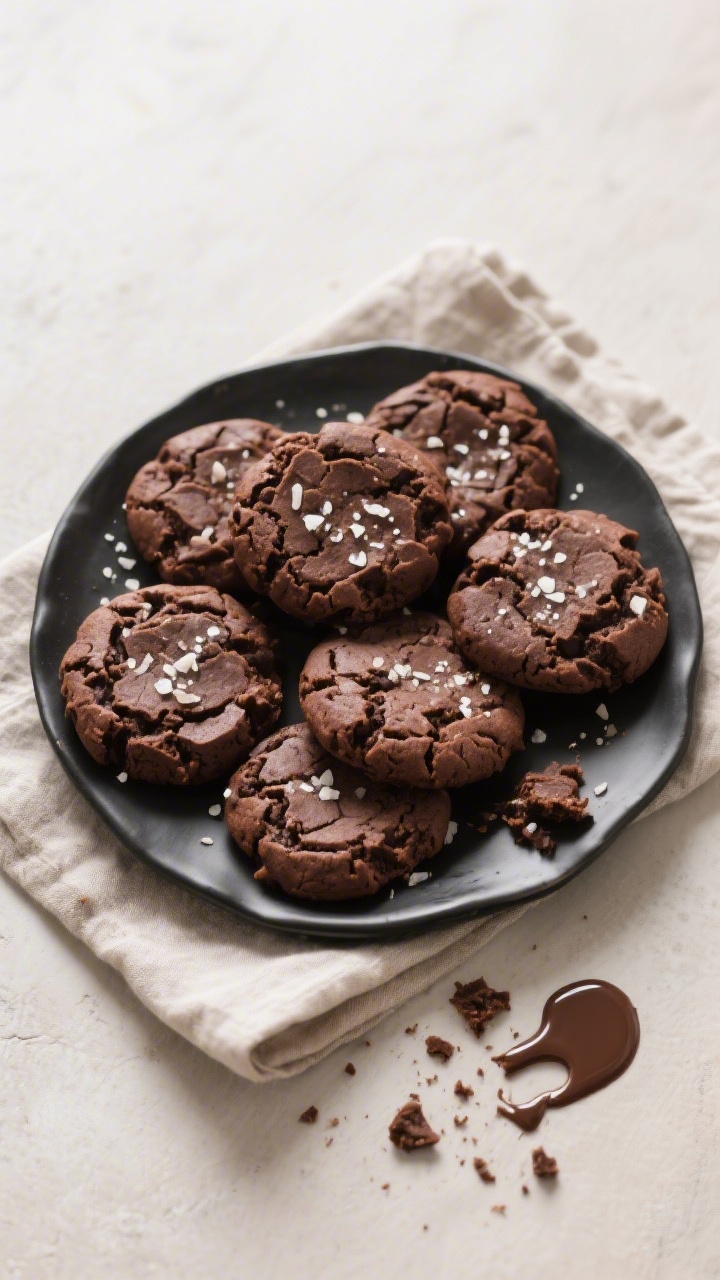
Benefits of This Recipe
- Fast satisfaction: No long chill, no stand mixer needed.
- Reliable texture: Crisp edges and fudgy centers thanks to specific bake cues.
- Ultra-chocolatey: Uses both melted chocolate and cocoa for depth.
- Flexible: Works with add-ins like nuts, chips, or a swirl of peanut butter.
- Make-ahead friendly: Dough and baked cookies both freeze well.
What Not to Do
- Don’t skip the egg-sugar whisk. This aeration is what gives a shiny, crackly top.
- Don’t add hot chocolate mixture. If it’s too warm, it can curdle the eggs and ruin the texture.
- Don’t overbake. Pull them when the edges are set and the centers still look soft.
Overbaking kills the fudginess.
- Don’t overflour. Weigh flour if possible; too much flour makes cakey cookies.
- Don’t skip chilling. Even a brief chill keeps the cookies thick with crisp edges.
Alternatives
- Gluten-free: Swap all-purpose flour for a cup-for-cup gluten-free blend that includes xanthan gum. Let the dough chill on the longer side to hydrate.
- Dairy-free: Use a quality dairy-free butter alternative and dairy-free dark chocolate. Check labels for cocoa percentage.
- Extra dark: Use 70–75% chocolate and Dutch-process cocoa for a more intense, less sweet cookie.
- Mocha twist: Add 2 teaspoons espresso powder and a handful of espresso chips.
- Nutty crunch: Fold in 1/2 cup toasted walnuts or pecans for texture and balance.
- Mint chocolate: Add 1/2 teaspoon peppermint extract and top with crushed peppermint candies after baking.
FAQ
Why aren’t my cookies shiny and crackly on top?
You likely didn’t whip the eggs and sugars long enough, or your batter was too cool and stiff.
Whisk until the mixture looks lighter and slightly thick, and don’t chill the dough past 30 minutes. Also, use granulated sugar along with brown sugar to encourage that glossy finish.
Can I make the dough ahead?
Yes, but keep the chill short if you want the crinkle. If you need to hold it longer, scoop the dough first, then refrigerate the scoops in a covered container.
Let them warm on the counter for 10–15 minutes before baking.
How do I know when they’re done?
Look for set, slightly darkened edges and glossy, crackly tops. The centers should still look soft and a bit underdone. They’ll continue to set on the baking sheet as they cool.
Can I reduce the sugar?
You can cut up to 2 tablespoons without major changes, but more than that will dull the crackly top and make the cookies less fudgy.
Sugar affects texture and moisture, not just sweetness.
What cocoa should I use?
Either natural or Dutch-process works here because the leavener is baking powder. Dutch-process will give a deeper color and slightly smoother flavor; natural cocoa brings a brighter chocolate note.
Why did my cookies spread too much?
The dough was likely too warm, or your baking sheets were hot from a previous batch. Chill the dough for the full 20–30 minutes and use cool sheets.
Measuring flour accurately also helps keep them from spreading.
Can I bake them larger?
Yes. For big, bakery-style cookies, scoop about 3 tablespoons each and bake 10–12 minutes. Keep an eye on the edges and give them an extra minute of cooling on the sheet.
Do I really need espresso powder?
No, but it enhances chocolate flavor without making the cookies taste like coffee.
If you skip it, the cookies will still be rich and delicious.
How do I freeze the dough?
Scoop the dough onto a parchment-lined tray, freeze until firm, then transfer to a freezer bag for up to 2 months. Bake from frozen at 350°F (175°C), adding 1–2 extra minutes.
Can I make them gluten-free and dairy-free at once?
Yes. Use a cup-for-cup gluten-free flour blend with xanthan gum and a reliable dairy-free butter and chocolate.
Chill the dough closer to 30 minutes to help structure, and expect slightly less spread.
Wrapping Up
These chocolate brownie cookies bring together the best parts of two classic desserts: crisp, crinkly edges and a soft, fudgy middle. With a few simple techniques—the egg-sugar whisk, a brief chill, and careful bake time—you’ll get bakery-quality results at home. Keep a batch in the freezer, sprinkle a little sea salt, and you’ve got an anytime treat that never disappoints.
Happy baking—you’re going to love these.
Find more in Dessert