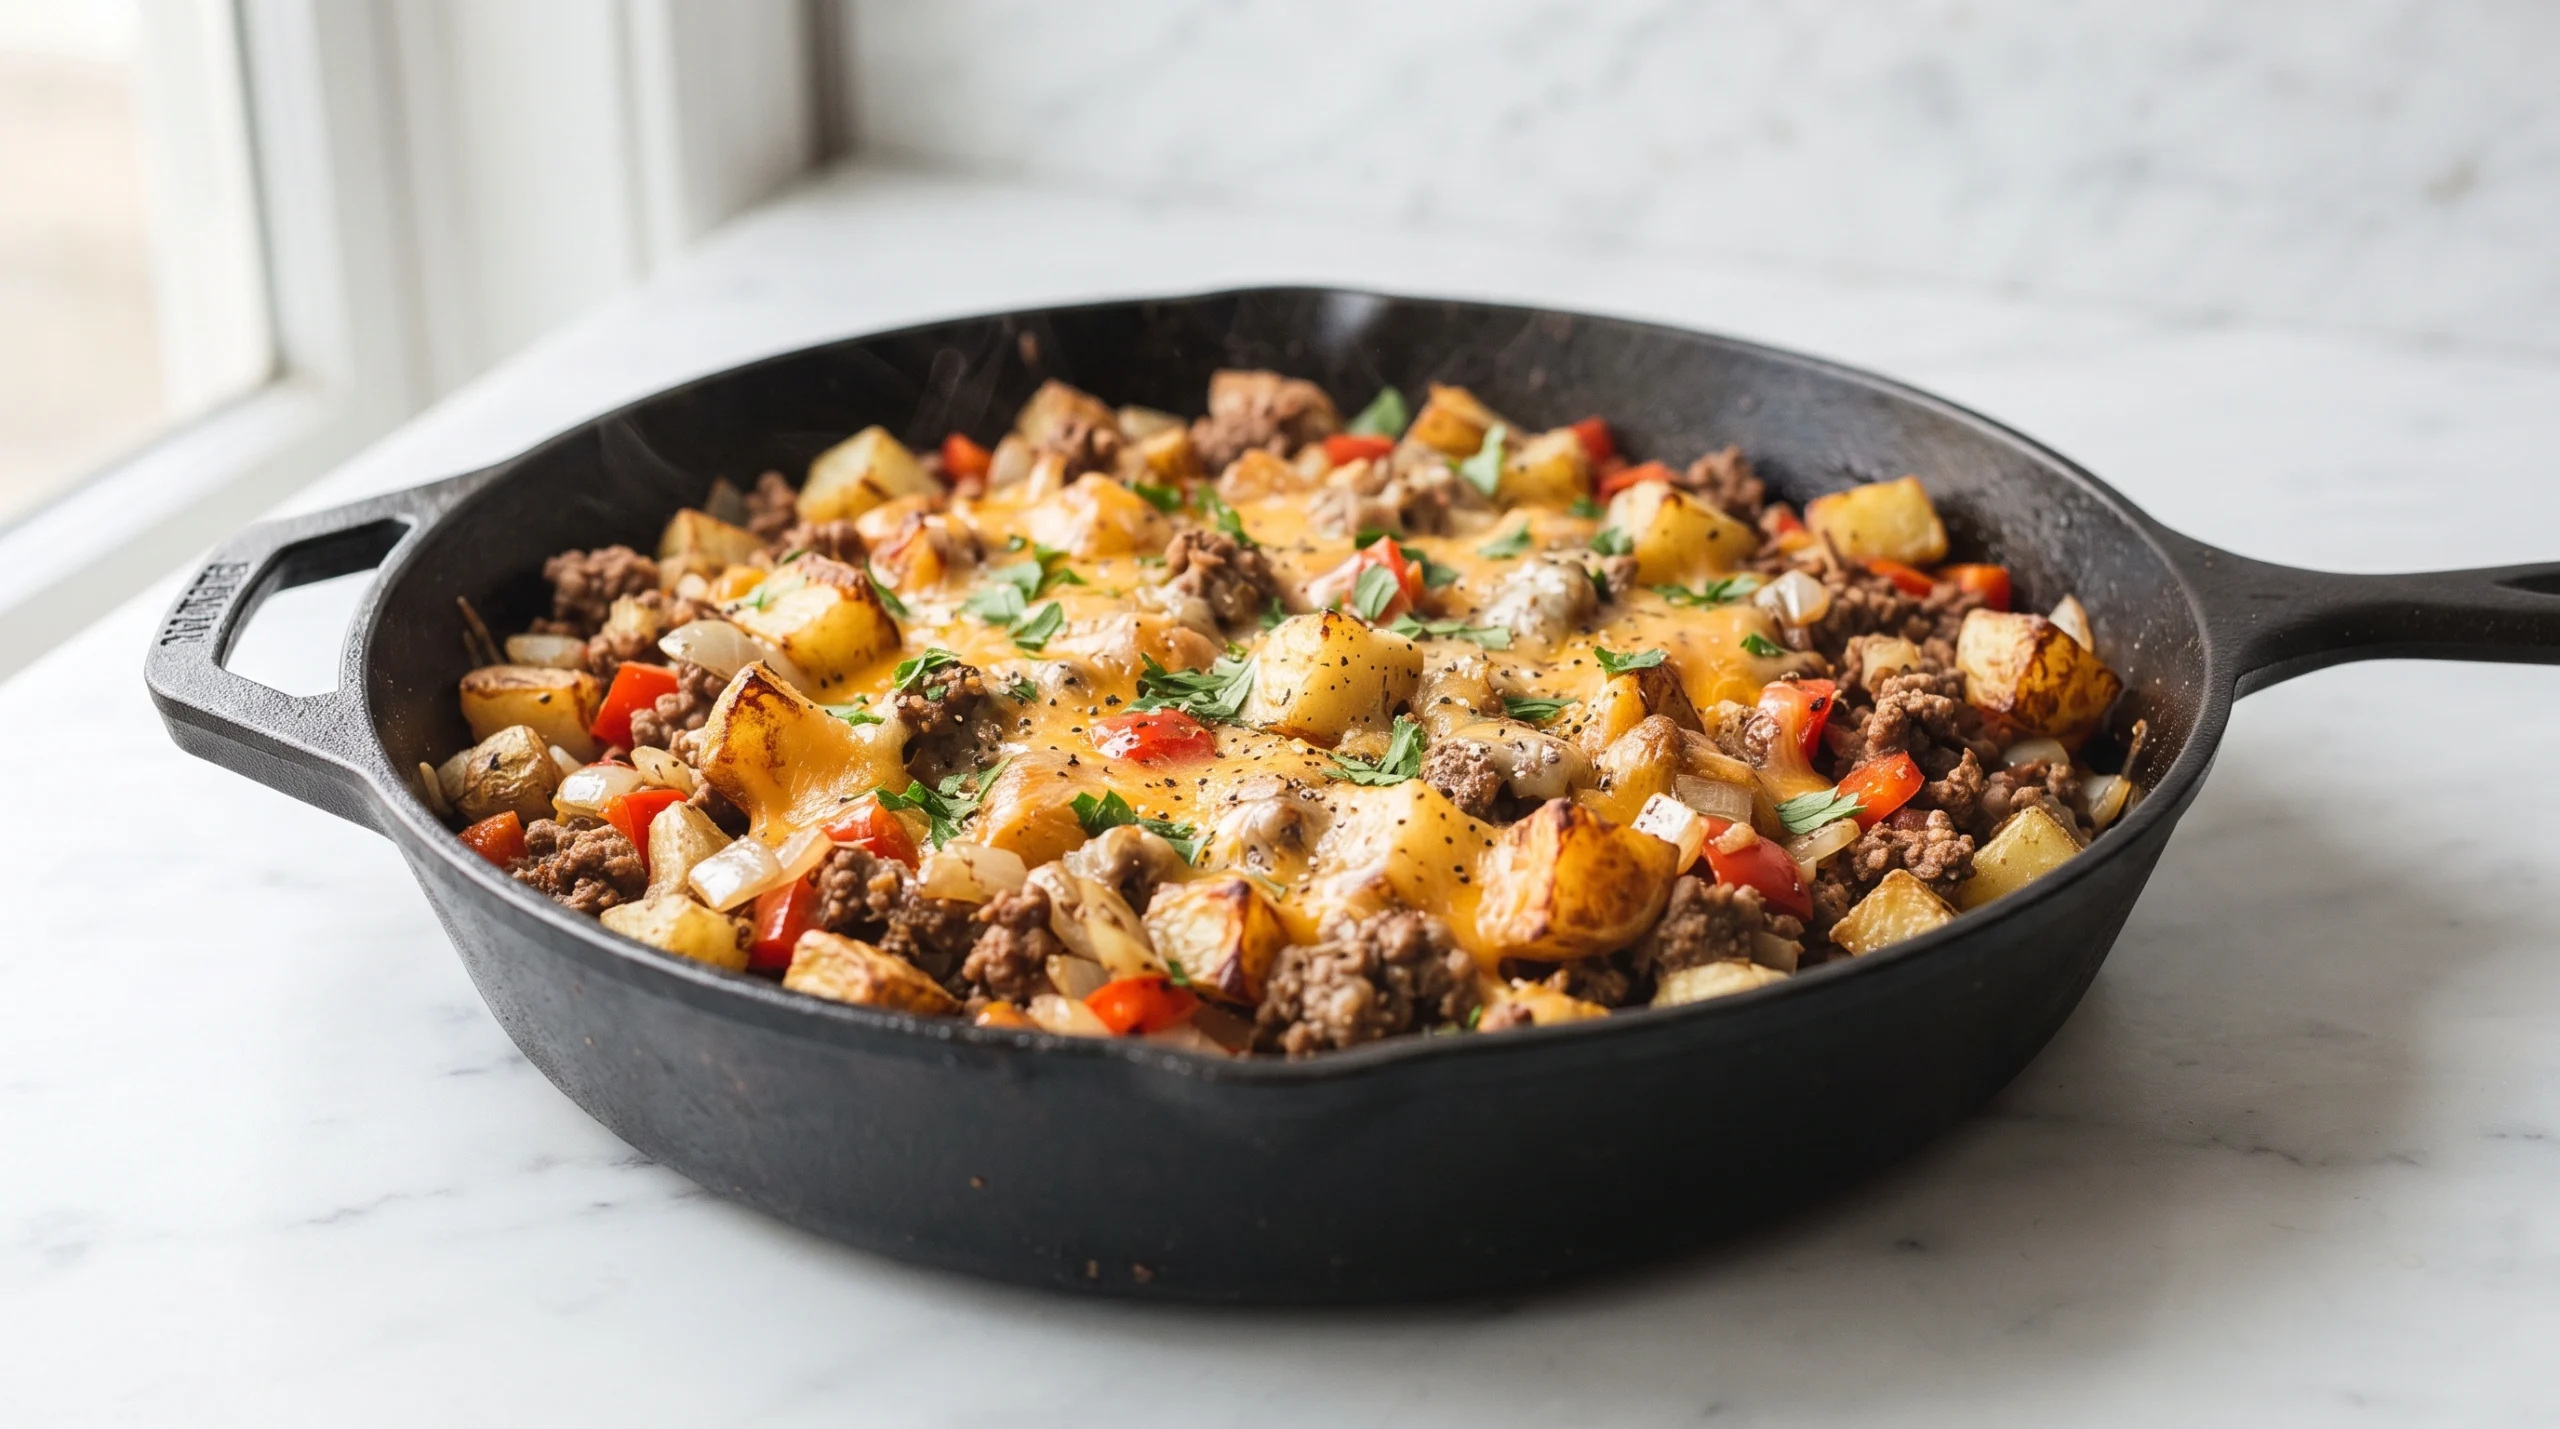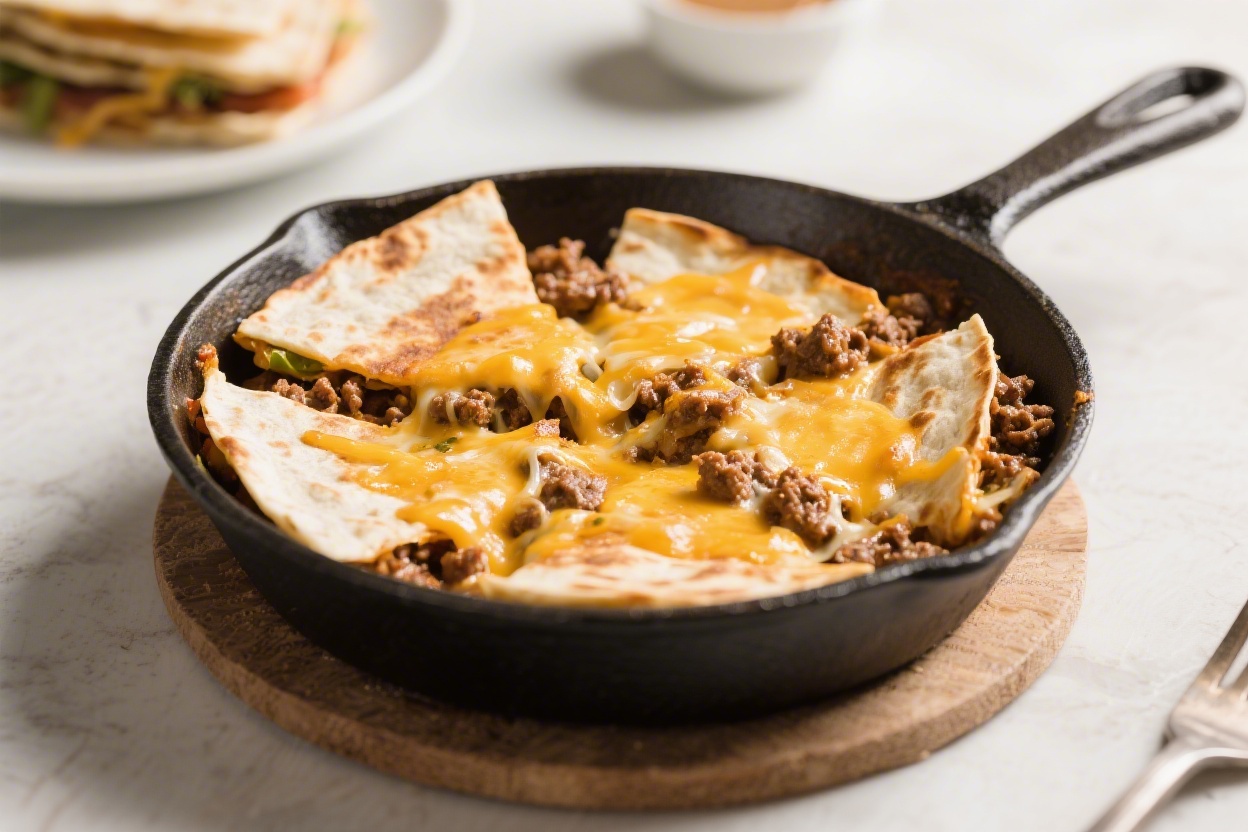
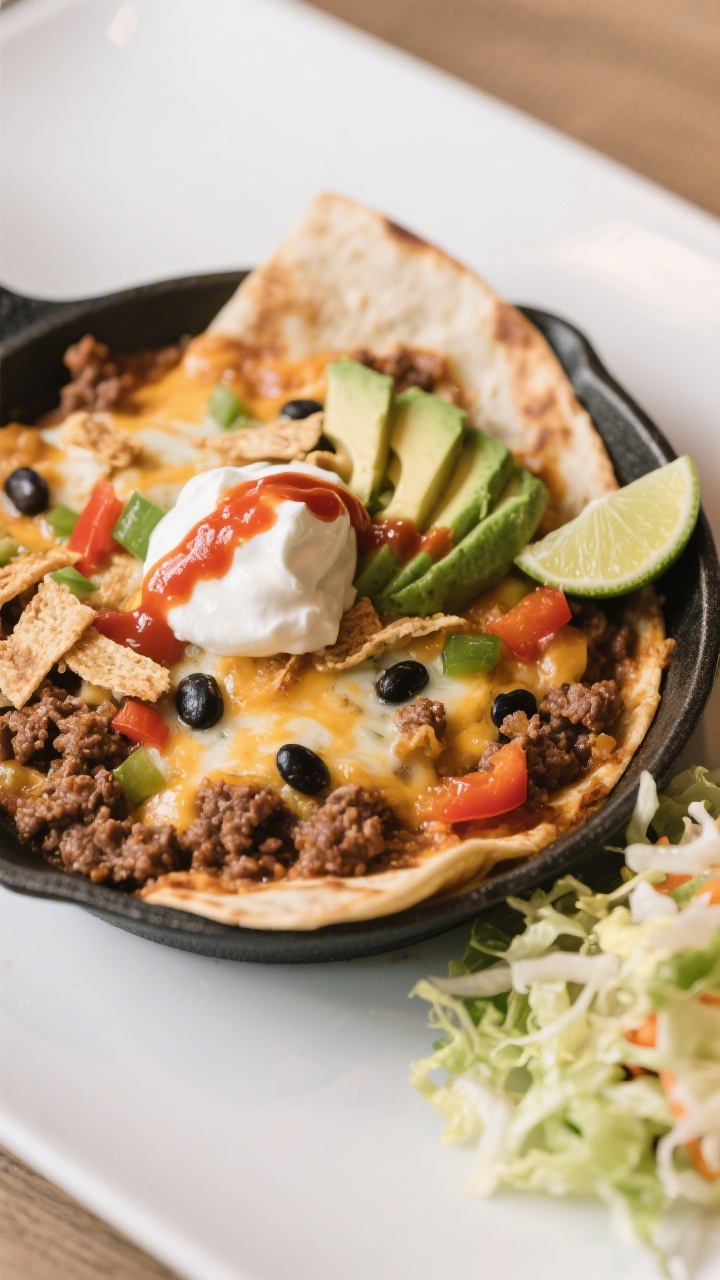
This skillet tastes like a stack of crispy quesadillas but comes together in one pan with simple pantry ingredients. It’s hearty, cheesy, and built for busy weeknights when you want real comfort without the mess. Kids love it, adults go back for seconds, and your budget stays happy.
If you can brown ground beef and flip a tortilla, you can make this. Set out a few toppings and let everyone build their own perfect plate.
What Makes This Special
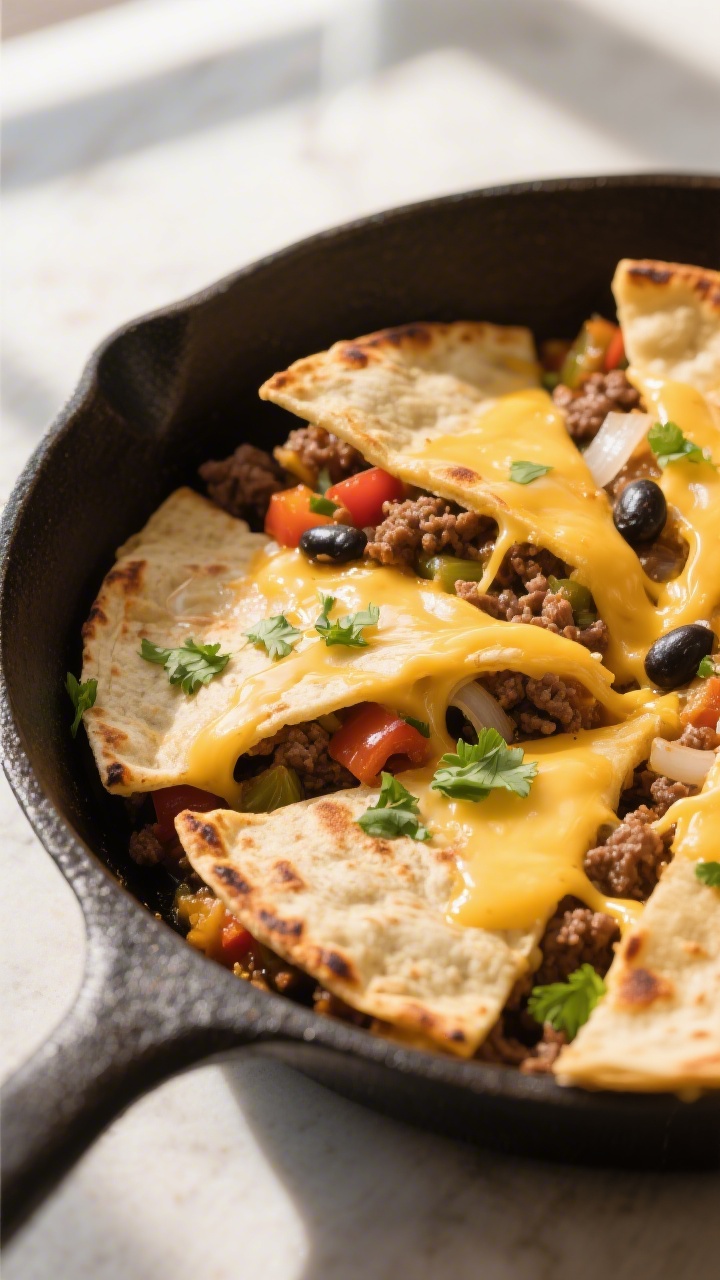
- All the quesadilla goodness, no assembly line: You get melty cheese, golden tortillas, and savory beef in one pan.
- Budget-smart: Uses ground beef, a bag of tortillas, and a handful of low-cost staples.
- Fast and flexible: Done in about 30 minutes, and easy to tweak for picky eaters.
- Crispy + cheesy balance: The stovetop method gives you browned edges and stretchy cheese in every bite.
- Great for leftovers: Reheats well and makes a solid lunch the next day.
Ingredients
- 1 pound ground beef (80–90% lean)
- 1 small yellow onion, finely diced
- 1 bell pepper, diced (any color)
- 2 cloves garlic, minced
- 1 teaspoon chili powder
- 1 teaspoon ground cumin
- 1/2 teaspoon smoked paprika (optional)
- 1/2 teaspoon dried oregano
- 1/2 teaspoon salt, plus more to taste
- 1/4 teaspoon black pepper
- 1 (10-ounce) can diced tomatoes with green chiles, drained (or 1 cup salsa, well-drained)
- 1 cup canned black beans, rinsed and drained (optional but filling)
- 1 1/2–2 cups shredded cheese (cheddar, Monterey Jack, or a Mexican blend)
- 6–8 small flour tortillas (fajita size, 6–8 inches), cut into wedges
- 2 tablespoons neutral oil (canola, vegetable, or light olive oil), divided
- 2 tablespoons butter (optional, for extra browning and flavor)
- Juice of 1/2 lime (optional)
- Fresh cilantro, chopped (optional)
For serving (optional): Sour cream or Greek yogurt, hot sauce, salsa, diced avocado, shredded lettuce, or pickled jalapeños.
Step-by-Step Instructions
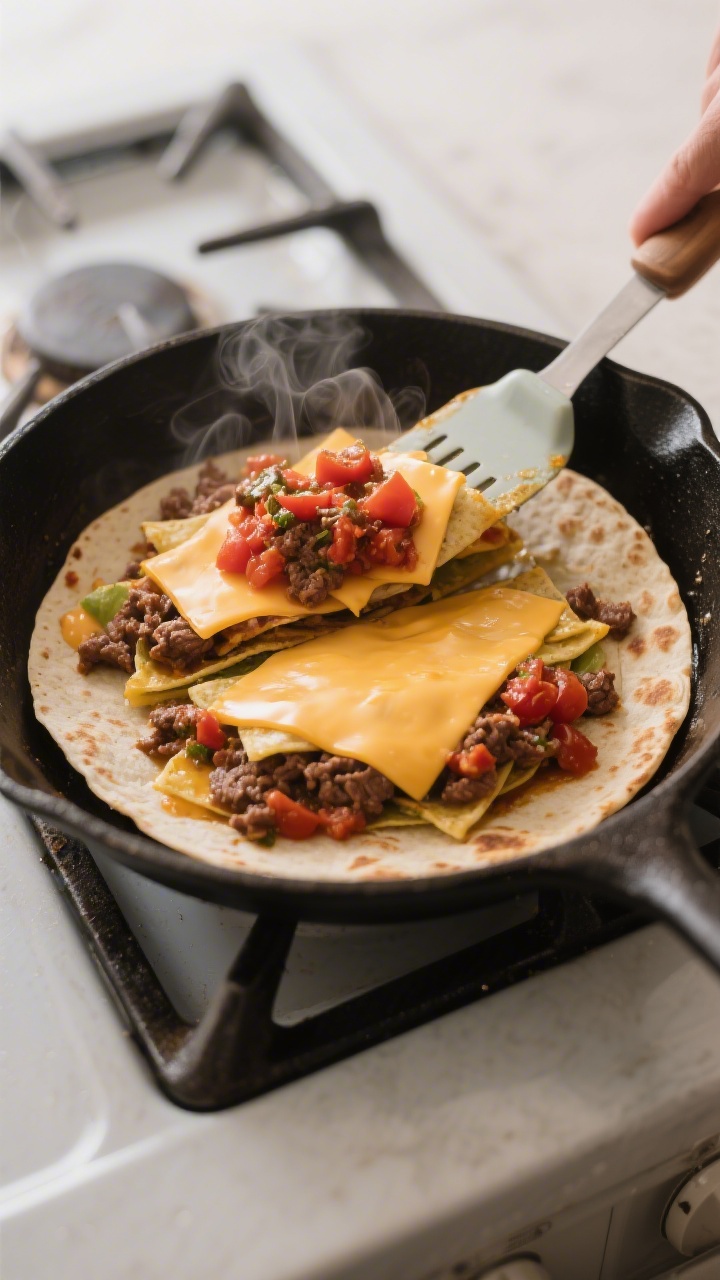
- Prep the tortillas: Stack the tortillas and cut them into 6–8 wedges each. Set aside.
Shred your cheese so it melts evenly.
- Brown the beef: Heat 1 tablespoon oil in a large skillet over medium-high heat. Add ground beef and break it up. Cook until browned with crisp edges, about 6–8 minutes.
Drain excess fat if needed, leaving about 1 tablespoon in the pan.
- Add aromatics: Stir in onion and bell pepper. Cook until softened, 3–4 minutes. Add garlic and cook 30 seconds, just until fragrant.
- Season: Sprinkle in chili powder, cumin, smoked paprika, oregano, salt, and black pepper.
Stir to coat the meat and veggies for 30–60 seconds to bloom the spices.
- Build the filling: Add drained tomatoes (or drained salsa) and black beans, if using. Simmer 2–3 minutes to thicken slightly. Squeeze in lime juice if using.
Taste and adjust salt.
- Remove the filling: Transfer the beef mixture to a bowl. Wipe the skillet if very wet; a little moisture is fine.
- Crisp the first layer: Add remaining 1 tablespoon oil and the butter to the skillet over medium heat. When hot, scatter in half the tortilla wedges in a single layer.
Cook 2–3 minutes, stirring occasionally, until lightly golden with some crispy spots.
- Layer and melt: Sprinkle half the cheese over the tortillas. Spoon the beef mixture over the cheese. Top with the remaining cheese, then the remaining tortilla wedges.
- Press and crisp: Use a spatula to gently press down so everything sticks together.
Cook 3–5 minutes, letting the bottom layer brown and the cheese start to melt. Cover for 1–2 minutes if needed to help the cheese melt.
- Flip in sections: Work in big spatula-sized sections. Flip and shuffle pieces to brown the other side, another 3–4 minutes.
You’re aiming for melty inside, golden and slightly crunchy outside.
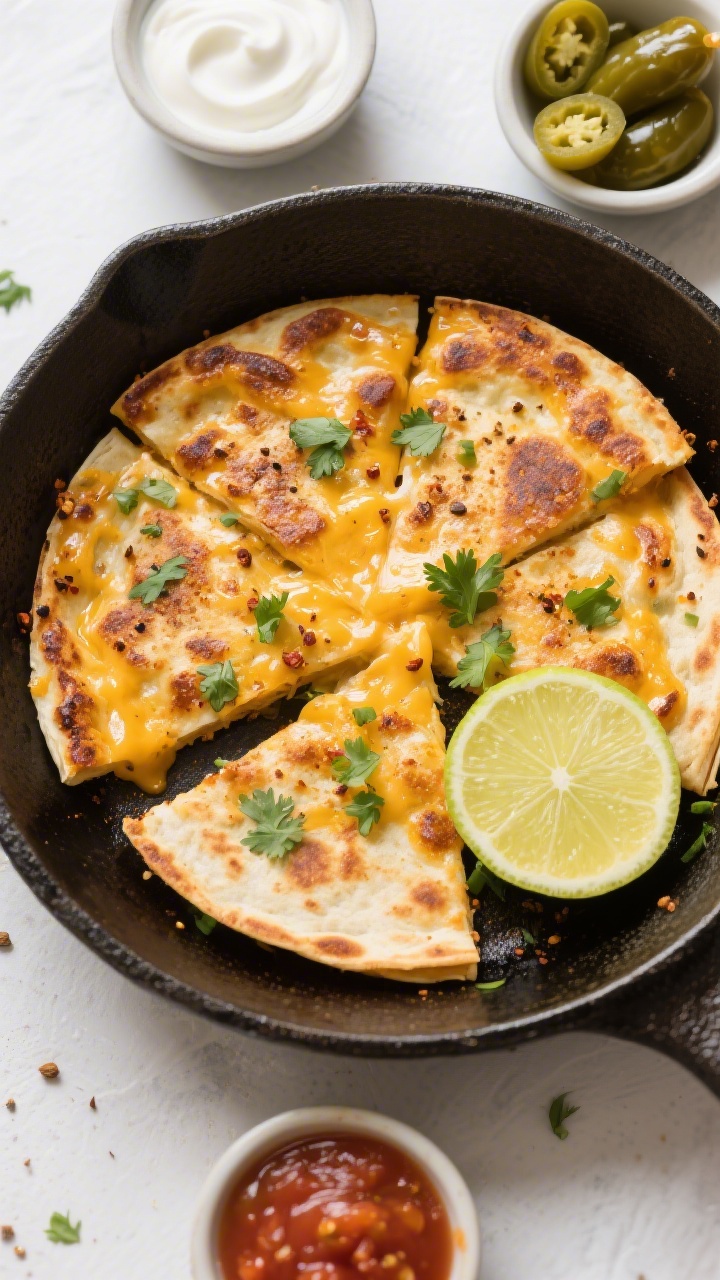
- Finish and garnish: Turn off the heat. Sprinkle with cilantro, if using. Let rest 2 minutes to set, then cut or scoop into wedges.
- Serve: Add toppings like sour cream, hot sauce, salsa, or avocado.
A crunchy side salad or corn adds freshness.
How to Store
- Refrigerate: Cool completely, then store in an airtight container for up to 3–4 days.
- Reheat: Best in a skillet over medium heat with a few drops of oil, 3–5 minutes per side. Air fryer works well at 350°F for 4–6 minutes. Microwave is fine for speed, but it won’t be as crispy.
- Freeze: Wrap individual portions tightly and freeze up to 2 months.
Reheat from frozen in the oven or air fryer for better texture.
Health Benefits
- Protein-packed: Ground beef and cheese provide solid protein to keep you full.
- Fiber boost: Black beans and veggies add fiber, which supports digestion and steadier energy.
- Calcium and iron: Cheese offers calcium; beef contributes heme iron, which is readily absorbed.
- Customizable nutrition: Swap in leaner beef, add extra peppers or spinach, and use whole wheat tortillas for more fiber and nutrients.
Pitfalls to Watch Out For
- Soggy tortillas: Drain tomatoes or salsa well. If the filling looks watery, simmer it down before layering.
- Greasy skillet: If your beef is very fatty, drain more thoroughly. Too much fat prevents crisping.
- Burned bottom: Keep heat at medium to medium-high, not blazing hot.
Brown in stages and flip sections as needed.
- Uneven melting: Shred cheese from a block and cover the skillet briefly to help it melt through.
Recipe Variations
- Turkey or chicken: Use ground turkey or chicken for a lighter option. Add 1 tablespoon oil and don’t overcook to avoid dryness.
- Veggie-loaded: Stir in corn, zucchini, or spinach with the onions and peppers. Add a pinch more salt.
- Bean-and-cheese budget saver: Halve the beef and double the beans.
Still hearty, still delicious.
- Spicy kick: Add chipotle in adobo, diced jalapeños, or a hotter salsa. Balance with a little extra cheese.
- Whole wheat or corn tortillas: Whole wheat adds fiber; corn gives toasty flavor. If using corn, expect a more delicate, chippy texture.
- Sheet pan version: Layer tortillas, filling, and cheese on a greased sheet pan.
Bake at 400°F until crisp and melty, about 12–15 minutes.
FAQ
Can I make this ahead?
Yes. Cook the beef mixture up to 2 days ahead and refrigerate. When ready to eat, crisp the tortillas and assemble in the skillet so it stays crunchy.
What cheese melts best?
Monterey Jack and cheddar are great.
A Mexican blend melts smoothly and browns nicely. Avoid pre-shredded if possible since anti-caking agents can affect melt.
Do I need to use butter?
No, but a little butter with oil helps the tortillas brown and adds flavor. Using only oil still works and keeps it a bit lighter.
How do I keep leftovers from getting soggy?
Cool completely before sealing the container.
Reheat in a skillet or air fryer so moisture evaporates and the edges crisp up again.
Can I make it gluten-free?
Yes. Use certified gluten-free corn tortillas and check labels on spices, beans, and tomatoes to ensure they’re gluten-free.
Is there a dairy-free option?
Use a good melting dairy-free cheese or a mix of dairy-free shreds and a few dollops of seasoned mashed avocado after cooking for creaminess.
What size skillet should I use?
A large 12-inch nonstick or well-seasoned cast-iron skillet works best. Smaller pans will overcrowd and make crisping harder.
In Conclusion
This budget ground beef quesadilla skillet brings cozy, cheesy comfort to the table fast.
It’s crispy in all the right spots, simple to customize, and easy on your wallet. Make it once and you’ll have a go-to weeknight dinner that guarantees clean plates and happy faces. Keep the ingredients on hand, and you’re never far from a satisfying meal that feels like a win.
Find more in Budget Meals