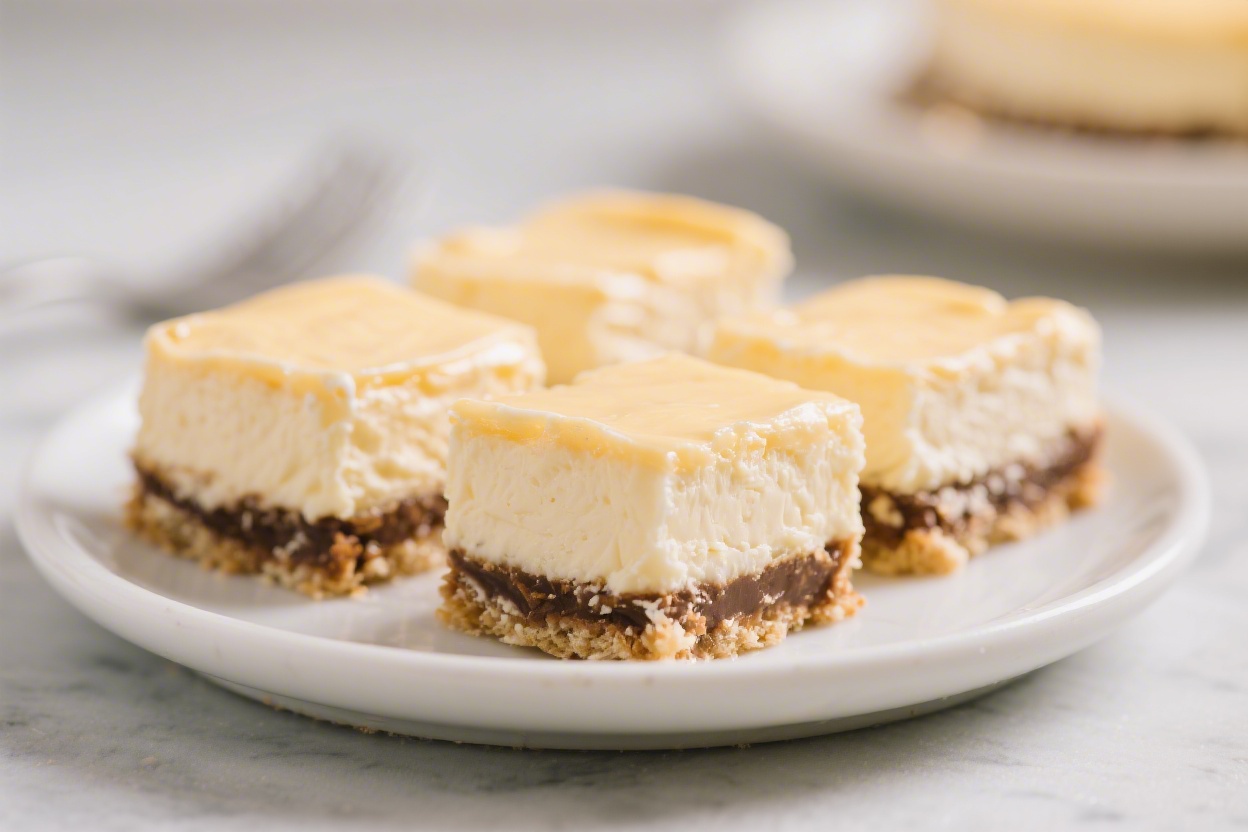
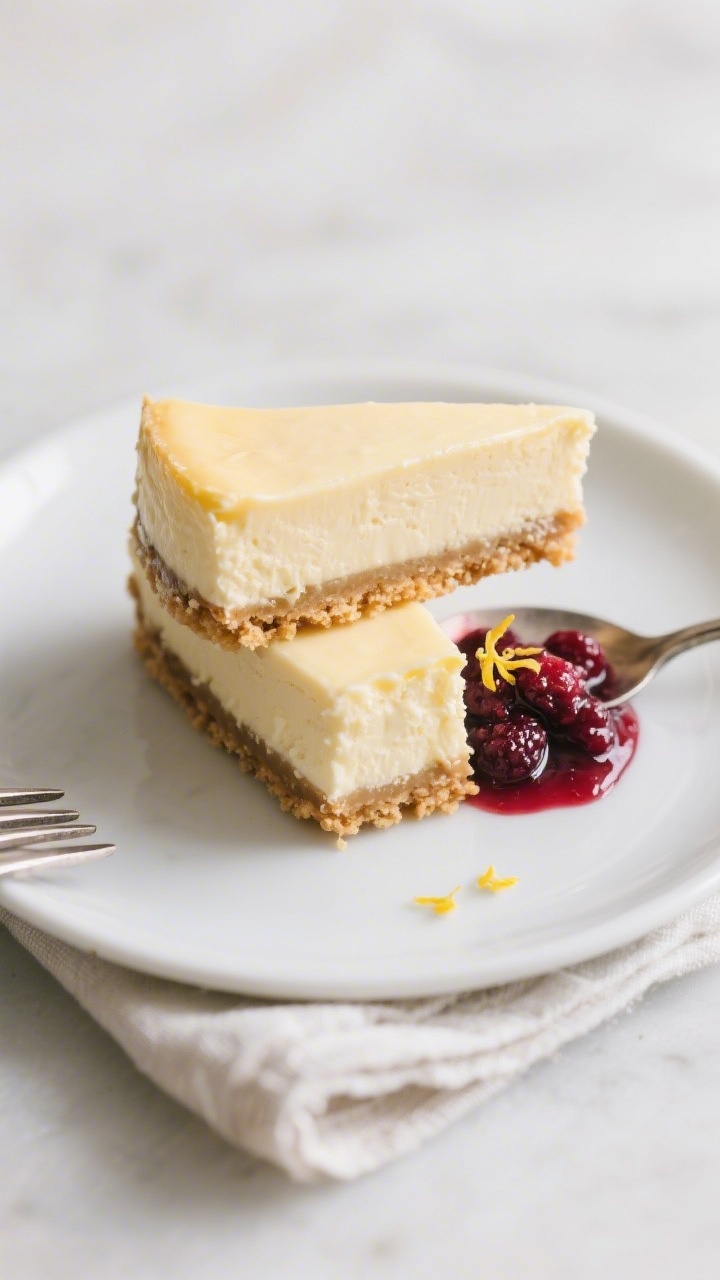
These cheesecake bars deliver everything you love about classic cheesecake without the fuss. No water bath, no cracking drama, and no special equipment beyond a mixer and a baking pan. The texture is lush and velvety, with a buttery cookie crust that stays crisp at the edges.
They slice cleanly, chill beautifully, and hold up on dessert tables. Make them once, and they’ll become your go-to treat for potlucks, birthdays, and cozy nights in.
What Makes This Recipe So Good
- Simple method, big payoff: You’ll press in a quick crust, blend the filling, and bake. That’s it.
No tricky steps or temperature gymnastics.
- Ultra-creamy texture: The combination of cream cheese and sour cream gives a silky, tangy filling that tastes like a bakery classic.
- Foolproof results: A low-and-slow bake plus a proper chill keeps cracks at bay and ensures clean slices every time.
- Make-ahead friendly: These bars actually taste better after a night in the fridge, making them perfect for planning ahead.
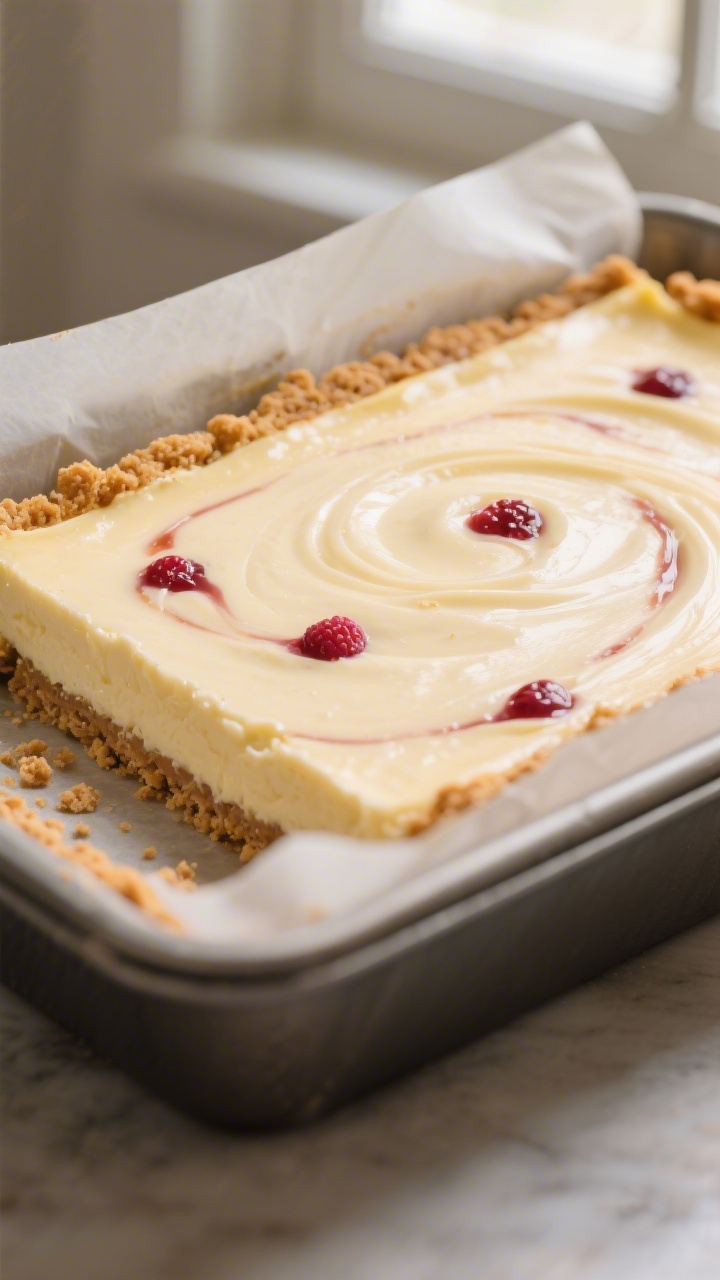
- Endlessly customizable: Swap the crust, swirl in jam, or finish with fresh fruit. The base recipe welcomes your favorite flavors.
What You’ll Need
- Cream cheese: 16 ounces (two 8-ounce blocks), softened. Use full-fat for the best texture.
- Granulated sugar: 2/3 cup, for just-right sweetness.
- Sour cream: 1/2 cup, for tang and extra creaminess.
- Eggs: 2 large, at room temperature, to bind the filling.
- Vanilla extract: 2 teaspoons, for warmth and depth.
- Salt: A small pinch to balance the sweetness.
- Graham crackers: About 10 full sheets (1 1/2 cups crumbs) for the crust.
You can sub with digestive biscuits.
- Unsalted butter: 6 tablespoons, melted, to bind the crust.
- Brown sugar: 2 tablespoons, for a toasty, caramel note in the crust.
- Optional add-ins: Lemon zest, a swirl of raspberry jam, or mini chocolate chips for variety.
Step-by-Step Instructions
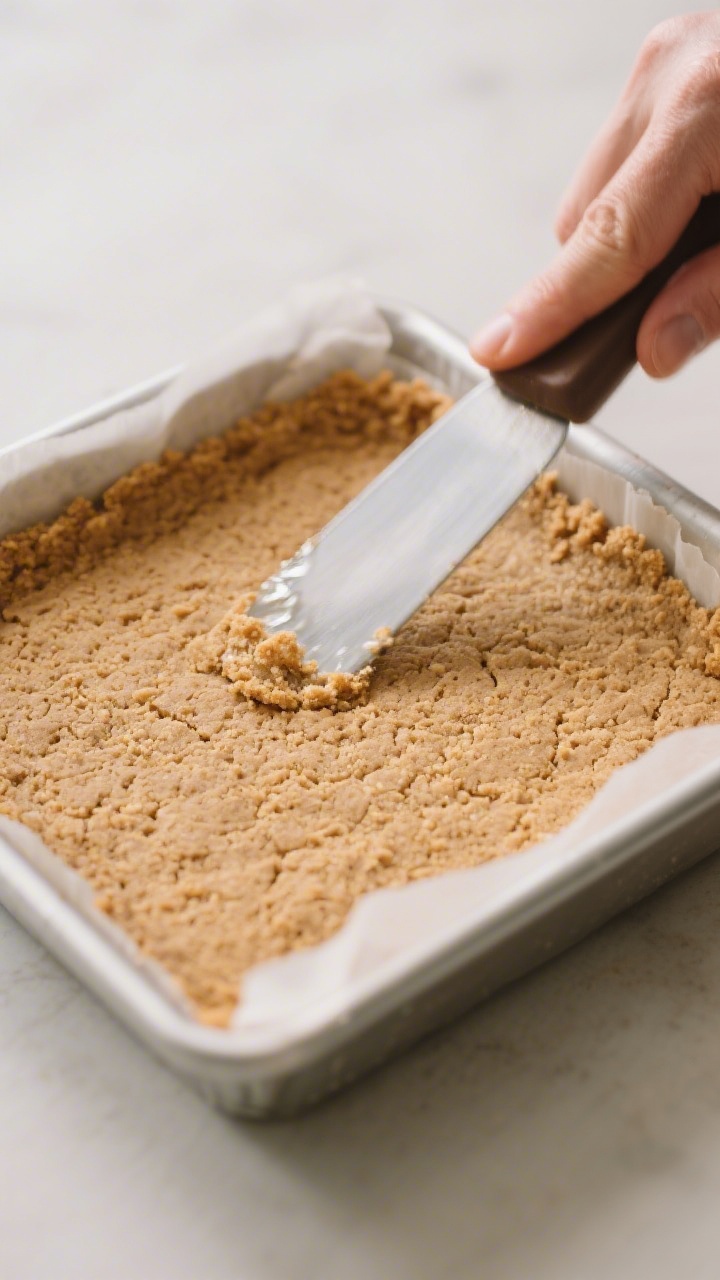
- Prep the pan: Heat the oven to 325°F (163°C). Line a 9×9-inch baking pan with parchment, leaving overhang on two sides for easy lifting. Lightly grease the parchment.
- Make the crust: Crush graham crackers into fine crumbs.
Stir in brown sugar and a pinch of salt, then mix in melted butter until the crumbs are evenly moistened and clump when pressed.
- Press and pre-bake: Firmly press the crust mixture into the pan in an even layer. Use a flat-bottomed cup to compact it. Bake for 8–10 minutes, until fragrant and set.
Cool slightly while you make the filling.
- Beat the cream cheese: In a large bowl, beat softened cream cheese on medium speed for 1–2 minutes until completely smooth with no lumps. Scrape down the bowl.
- Add sugar and sour cream: Beat in granulated sugar and sour cream until glossy and cohesive. Avoid whipping too much air into the batter.
- Flavor it: Mix in vanilla extract and a pinch of salt.
If using lemon zest, add it now.
- Add eggs gently: Beat in the eggs one at a time on low speed, just until incorporated. Overmixing can cause cracks.
- Optional swirl or mix-ins: Fold in mini chocolate chips or dollop teaspoons of jam over the batter and swirl with a butter knife.
- Assemble and bake: Pour the filling over the warm crust and smooth the top. Bake at 325°F for 28–35 minutes.
The edges should be set, and the center should still jiggle slightly when the pan is nudged.
- Cool gradually: Turn off the oven, crack the door, and let the bars sit inside for 10 minutes. Then transfer the pan to a rack and cool to room temperature.
- Chill to set: Cover and refrigerate for at least 4 hours, preferably overnight. This step ensures clean slices and the best texture.
- Slice and serve: Use the parchment overhang to lift the slab out.
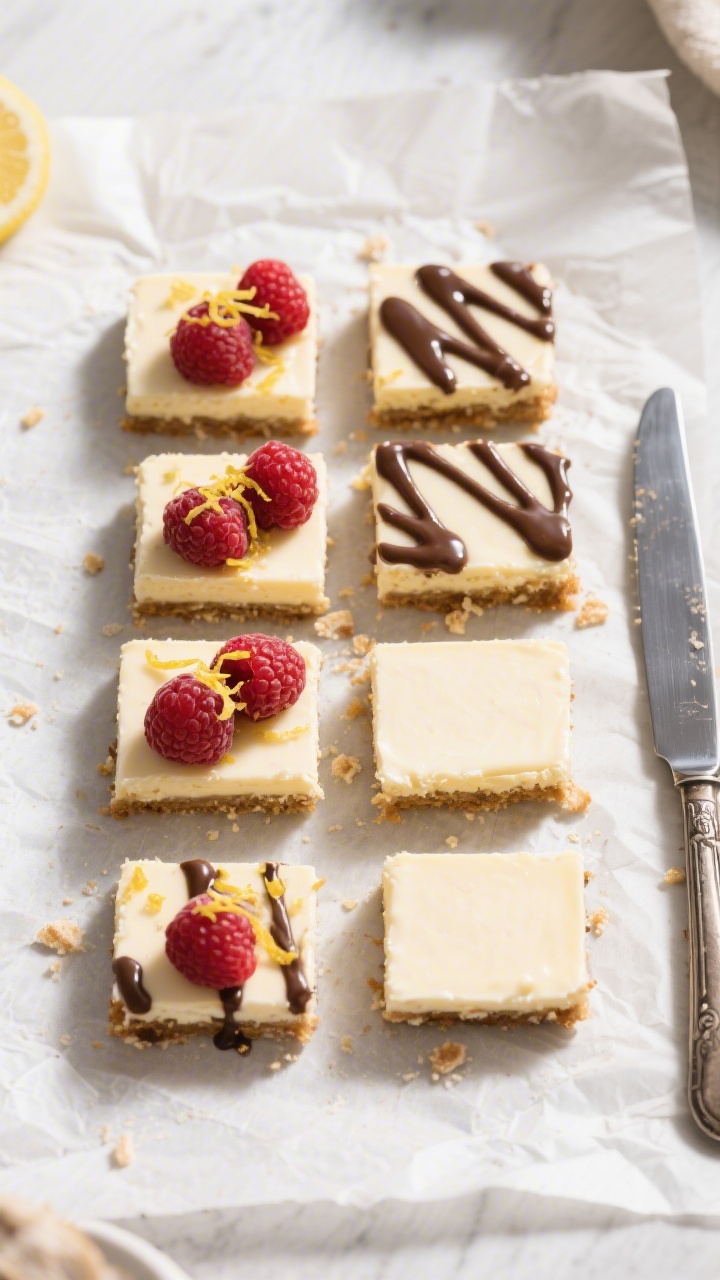
Warm a sharp knife under hot water, wipe it dry, and cut into bars. Wipe and rewarm the knife between cuts for neat edges.
Storage Instructions
- Refrigerator: Store bars in an airtight container for up to 5 days. Keep them chilled until serving.
- Freezer: Freeze individual bars on a tray until firm, then wrap tightly and store in a freezer bag for up to 2 months.
Thaw in the fridge overnight.
- Serving from cold: For the best flavor, let bars sit at room temperature for 10–15 minutes before serving. The texture softens slightly and tastes richer.
Benefits of This Recipe
- Beginner-friendly: Clear, low-stress steps that deliver reliable results every time.
- Great texture: Dense yet creamy, with a custard-smooth center and sturdy crust.
- Scalable: Double the recipe in a 9×13-inch pan for parties. Add a few extra minutes to the bake time.
- Budget-conscious: Uses common pantry staples and basic dairy—no specialty ingredients.
- Travel-friendly: Bars are easier to transport and serve than a full round cheesecake.
What Not to Do
- Don’t use cold cream cheese: Cold blocks won’t blend smoothly and will leave lumps.
Soften at room temp for 45–60 minutes.
- Don’t overmix the batter: Beating in too much air creates bubbles and can cause cracks. Mix on low once the eggs are in.
- Don’t skip the chill: Cutting too soon leads to messy slices and a loose texture. Chill at least 4 hours.
- Don’t overbake: A slight jiggle in the center is correct.
If it’s firm all the way through, it will be dry after chilling.
- Don’t forget parchment: Lining the pan makes lifting and slicing clean and easy.
Alternatives
- Crust swaps: Try chocolate wafers, speculoos/biscoff cookies, shortbread, or crushed Oreos (skip the brown sugar if using sweet cookies like Oreos or biscoff).
- Dairy options: Sub Greek yogurt for sour cream for a tangier bite. Mascarpone can replace half the cream cheese for a silkier texture.
- Flavor twists: Add 1 tablespoon lemon juice and zest for lemon bars, swirl in 1/3 cup jam, or fold in 1/2 cup mini chips.
- Toppings: Finish with fresh berries, a drizzle of caramel or chocolate, or a quick fruit compote.
- Gluten-free: Use gluten-free graham crackers or almond flour crust (1 1/2 cups almond flour, 3 tablespoons sugar, 1/4 teaspoon salt, 5 tablespoons melted butter).
- No-bake option: Chill a butter-heavy crust (add 1 extra tablespoon butter) and use a filling with whipped cream and gelatin. It won’t taste quite the same but works well in hot weather.
FAQ
How do I know when cheesecake bars are done?
The edges should look set, and the center should wobble like Jell-O when you gently shake the pan.
If it ripples like liquid, give it a few more minutes. Remember that it will firm up as it cools and chills.
Why did my cheesecake crack?
Cracks usually come from overbaking, overmixing, or rapid temperature changes. Bake until just set, mix on low speed once eggs are added, and let the bars cool gradually before chilling.
Can I use a different pan size?
Yes.
A 9×9-inch pan yields thicker bars. An 8×8-inch pan will make slightly taller bars and may need 3–5 extra minutes. A 9×13-inch pan works for a double batch; extend baking by about 8–12 minutes, watching for the same jiggle cue.
Do I have to use full-fat cream cheese?
Full-fat gives the creamiest texture.
Reduced-fat can work, but the filling may be softer and less rich. Avoid fat-free cream cheese; it won’t set properly.
Can I make these ahead?
Absolutely. These bars are best after a night in the fridge.
You can bake them up to two days in advance and slice just before serving.
What’s the best way to get clean slices?
Use a long, sharp knife warmed under hot water. Wipe it clean and rewarm between cuts. Chilled bars and a gentle sawing motion help keep edges neat.
How can I add a fruit swirl without sinking it?
Spoon small dollops of thick jam or compote on top of the batter, then lightly swirl just the surface with a knife.
Avoid deep stirring, which pulls fruit to the bottom.
In Conclusion
These easy cheesecake bars are the kind of dessert you can count on—simple steps, reliable results, and a texture that feels special. With a buttery crust and creamy center, they taste like a bakery treat made right in your kitchen. Keep the base recipe as your blueprint, then customize flavors for any occasion.
Chill well, slice clean, and watch them disappear.
Find more in Dessert