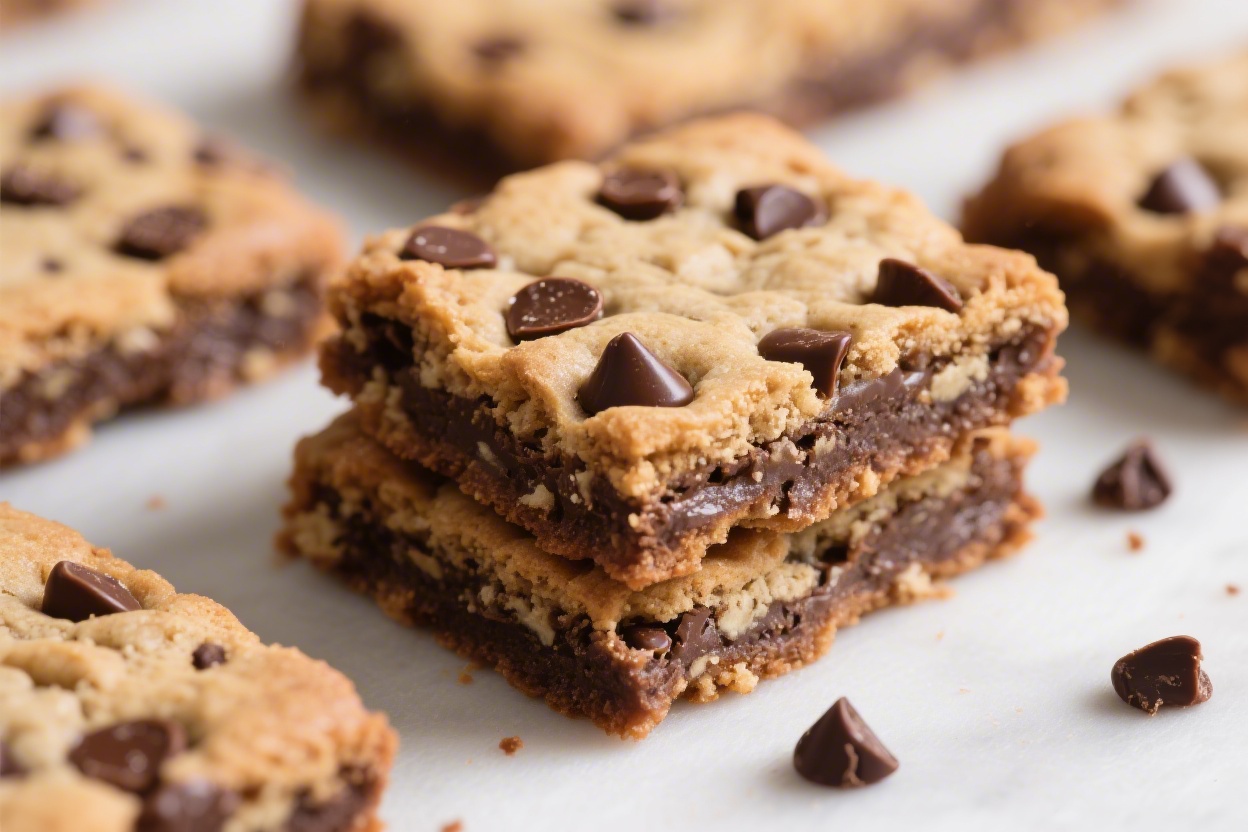
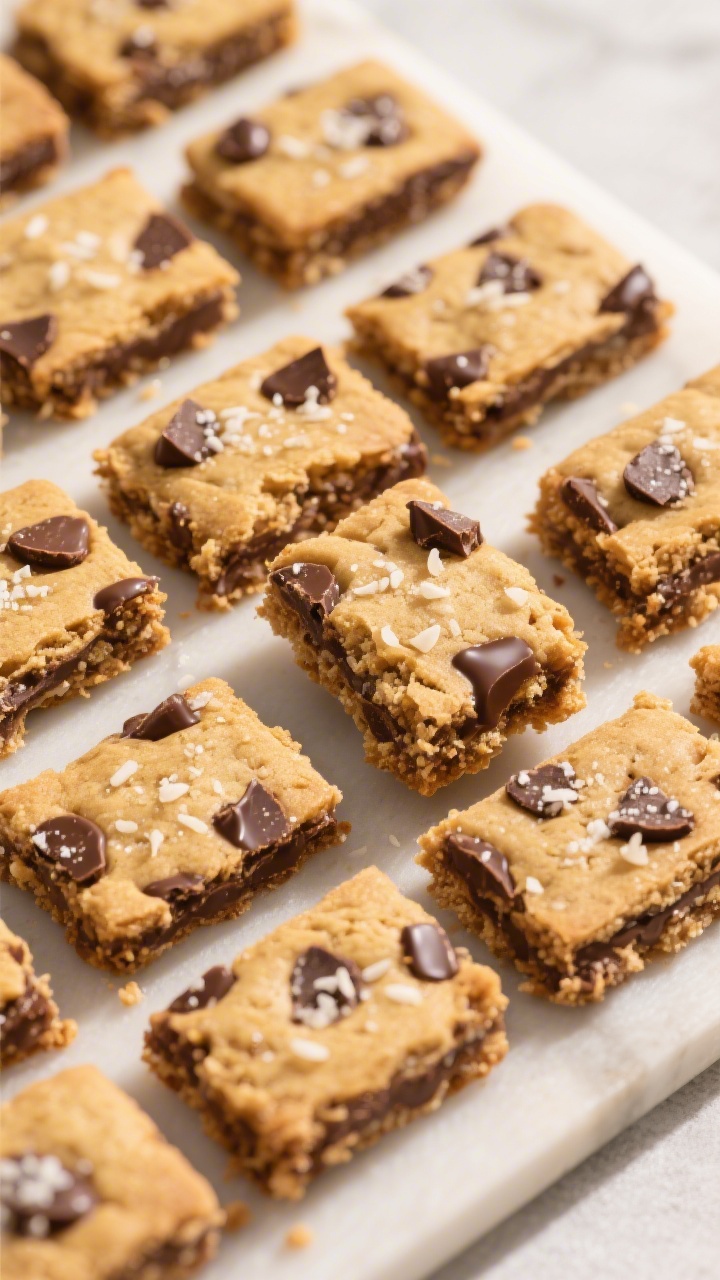
If you love the soft middle of a cookie but want the ease of a one-pan bake, these chocolate chip cookie bars are your answer. They bake up thick, chewy, and beautifully golden on top, with melty pockets of chocolate in every bite. No scooping, no chilling dough, and no batch-by-batch baking.
Just spread, bake, slice, and enjoy. They’re perfect for parties, potlucks, or a cozy night in with a glass of milk.
Why This Recipe Works
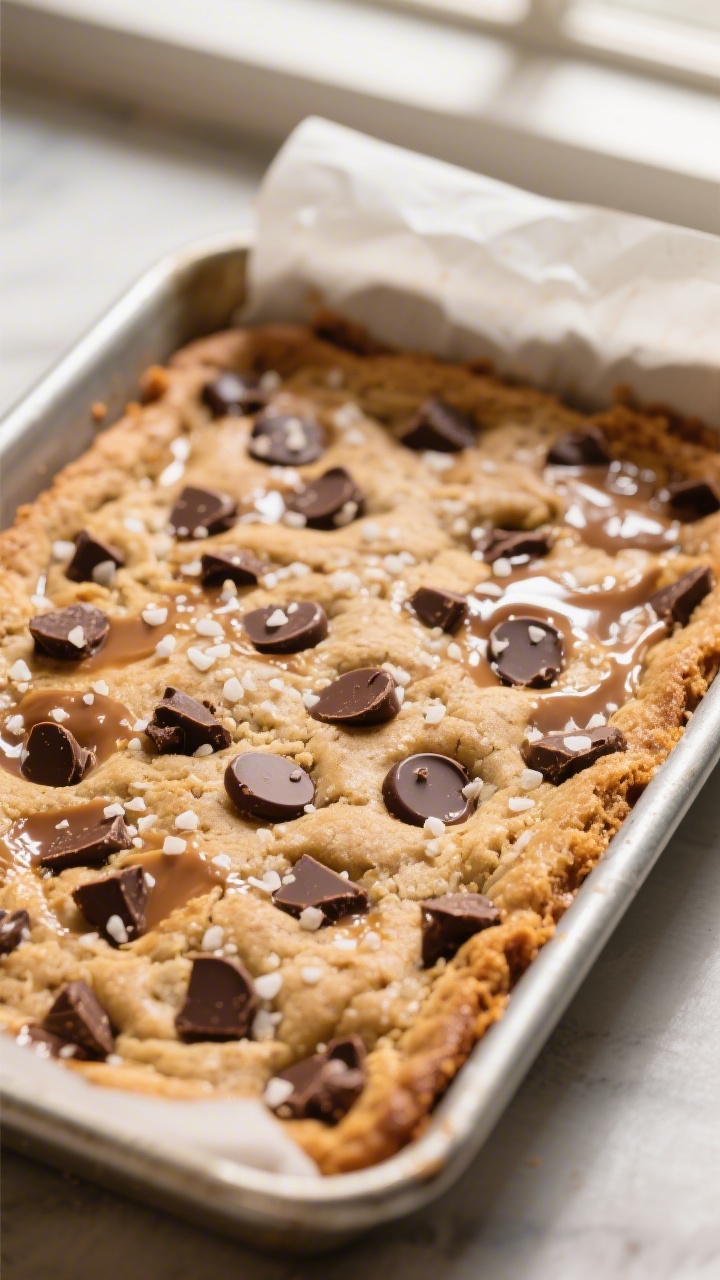
These bars strike the right balance of butter, sugar, and flour for a thick, chewy center and crisp edges. A mix of brown and granulated sugar gives you both caramel flavor and structure.
Cornstarch and an extra egg yolk help keep the bars soft, while underbaking slightly ensures that classic bakery-style gooey interior.
We use both chocolate chips and chopped chocolate for varied texture and melt. A touch of espresso powder and vanilla deepens the flavor without tasting like coffee. And baking in a metal pan gives even browning and those irresistible edge pieces.
Shopping List
- Unsalted butter (melted and slightly cooled) – 1 cup (2 sticks)
- Light brown sugar – 1 cup, packed
- Granulated sugar – 1/2 cup
- Large eggs – 1 whole egg + 1 egg yolk
- Vanilla extract – 2 teaspoons
- All-purpose flour – 2 1/4 cups
- Cornstarch – 2 teaspoons
- Baking soda – 1 teaspoon
- Fine sea salt – 3/4 teaspoon (plus flaky salt for topping, optional)
- Semi-sweet chocolate chips – 1 cup
- Chopped dark chocolate (60–70%) – 1 cup
- Espresso powder (optional) – 1/2 teaspoon
- Nonstick spray or parchment paper for the pan
How to Make It
- Prep the pan and oven. Heat the oven to 350°F (175°C).
Line a 9×13-inch metal baking pan with parchment, leaving overhang for easy lifting. Lightly grease the sides.
- Whisk the dry ingredients. In a medium bowl, whisk flour, cornstarch, baking soda, salt, and espresso powder (if using). Set aside.
- Mix the wet ingredients. In a large bowl, whisk melted butter, brown sugar, and granulated sugar until glossy and well combined, about 1 minute.
Whisk in the egg, then the yolk, followed by the vanilla.
- Combine just until mixed. Add the dry ingredients to the wet and fold with a spatula until only a few flour streaks remain. Do not overmix; stop as soon as it comes together.
- Add the chocolate. Fold in chocolate chips and chopped chocolate, reserving a small handful for the top.
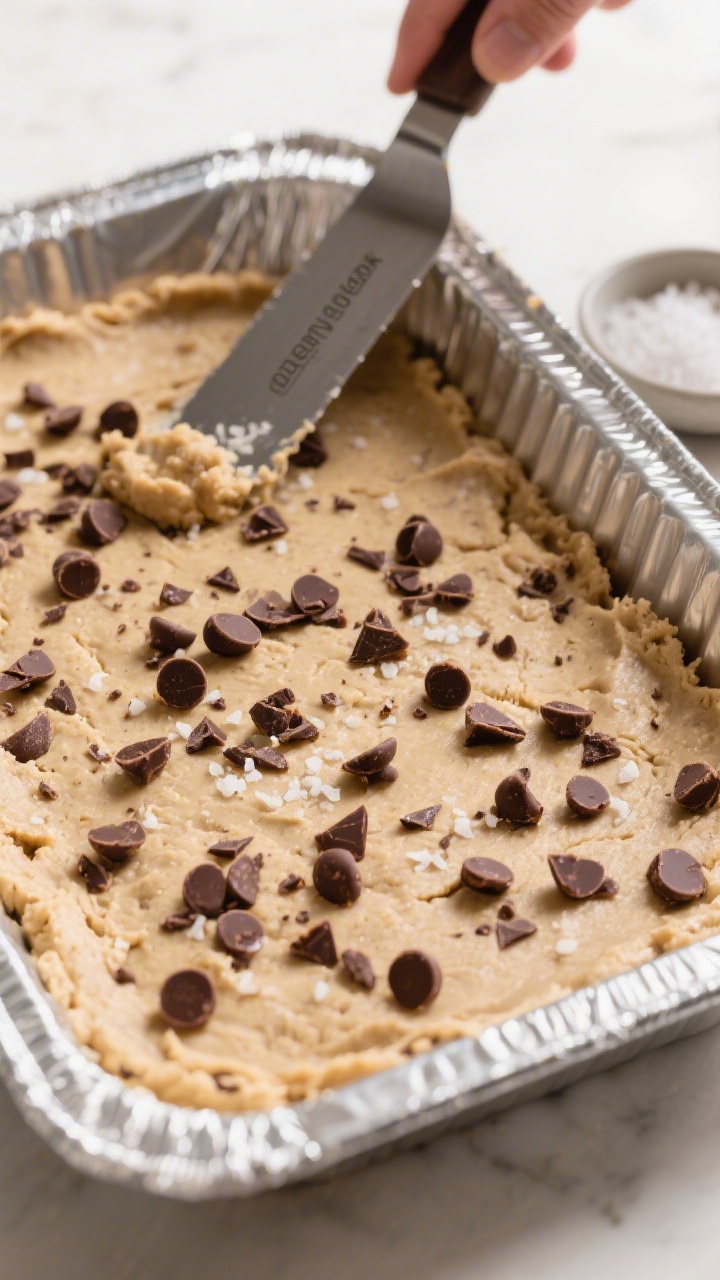
- Spread and top. Scrape the dough into the pan. Use an offset spatula or damp hands to press it into an even layer.
Sprinkle the reserved chocolate on top for that bakery look.
- Bake. Bake for 22–28 minutes, until the edges are set and golden and the center is slightly puffed but still looks a bit soft. A toothpick should come out with moist crumbs, not wet batter.
- Finish with salt. Immediately sprinkle with a little flaky salt (optional but highly recommended). It sharpens the flavors and balances sweetness.
- Cool and slice. Cool in the pan on a rack for at least 30–45 minutes.
Lift out with the parchment and slice into bars. For super clean edges, cool fully and use a sharp knife.
Keeping It Fresh
These bars stay soft for days if stored well. Keep them in an airtight container at room temperature for 3–4 days.
To lock in moisture, add a piece of bread or a tortilla to the container; replace it as it dries out. For longer storage, wrap bars individually and freeze for up to 2 months. Rewarm in the microwave for 10–15 seconds for that fresh-baked feel.
Health Benefits
While this is a treat, there are a few small upsides. Dark chocolate contains flavanols, which are antioxidants that may support heart health. Nuts (if you add them) bring healthy fats and some protein.
And making dessert at home lets you control ingredient quality, including using real butter and high-cocoa chocolate with fewer additives.
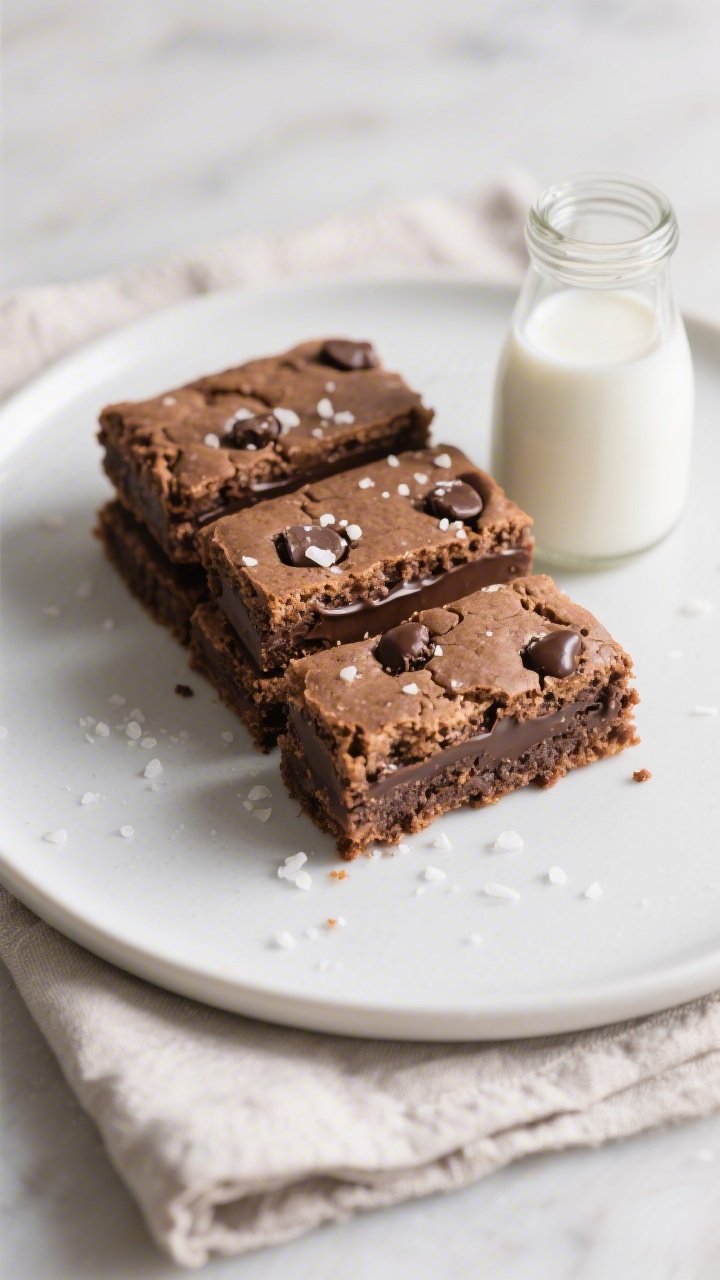
That said, these bars are rich in sugar and saturated fat. Enjoy them mindfully as part of a balanced diet. A smaller portion with a glass of milk, Greek yogurt, or some fruit can make the treat feel more satisfying.
Common Mistakes to Avoid
- Overbaking. Pull them when the center still looks a touch underdone; they continue to set as they cool.
- Packing flour. Scoop flour with a spoon into your measuring cup and level.
Too much flour makes dry, cakey bars.
- Overmixing the dough. Stop as soon as the dry ingredients are incorporated to avoid tough bars.
- Using a glass pan without adjustments. Glass runs hot and can overbrown the edges. If using glass, reduce the oven temp by 25°F and watch closely.
- Skipping salt. Salt is a flavor amplifier. Without it, the bars taste flat and overly sweet.
- Cutting too soon. Let them cool to set the structure.
Slicing hot bars leads to messy, gummy edges.
Variations You Can Try
- Brown Butter Bars: Brown the butter until nutty and amber, then cool before mixing. Adds toffee depth.
- Peanut Butter Swirl: Dollop 1/3 cup warm peanut butter on top and swirl with a knife before baking.
- Triple Chocolate: Use a mix of milk, semi-sweet, and dark chocolate chunks for layers of flavor.
- Salted Caramel: Press half the dough into the pan, drizzle on 1/3 cup thick caramel sauce, sprinkle with flaky salt, and top with remaining dough.
- Nutty Crunch: Fold in 3/4 cup toasted walnuts or pecans for texture and a roasty note.
- Gluten-Free: Use a 1:1 gluten-free flour blend that includes xanthan gum, and check that your chocolate is GF-certified.
- Espresso Lover’s: Increase espresso powder to 1 teaspoon and use 70% dark chocolate.
- Holiday Spice: Add 1/2 teaspoon cinnamon and a pinch of nutmeg for a cozy twist.
FAQ
Can I halve the recipe?
Yes. Halve all ingredients and bake in an 8×8-inch pan.
Start checking around 18–22 minutes. The bars will be a bit thicker, so give them time to set in the center.
Do I have to use both chips and chopped chocolate?
No, but the mix gives the best texture—chips hold shape while chopped chocolate melts into puddles. If using only one, go with 1 3/4 to 2 cups total.
Can I make them dairy-free?
Use a high-quality dairy-free butter alternative and dairy-free chocolate.
Choose a butter stick meant for baking, not a spread from a tub, for the right fat content.
Why add cornstarch?
Cornstarch tenderizes the dough and creates a softer crumb. It’s a small addition that makes a big difference in chew.
Do I need to chill the dough?
No chilling is required. The batter is designed to bake thick without spreading too much.
If your kitchen is very warm, a 10–15 minute chill can help with clean edges.
How do I get shiny, crackly tops?
Whisk the sugars thoroughly into the warm melted butter, then add the eggs and whisk until glossy. That emulsification helps create sheen on top.
What if my bars sink in the middle?
That can happen from underbaking or too much leavening. Check oven temp accuracy, measure baking soda carefully, and bake until the edges are set and the center is puffed with moist crumbs on a tester.
Can I add oats?
Yes.
Replace up to 1/2 cup of the flour with quick oats for a chewier, heartier texture. Add a touch more vanilla to keep the flavor round.
Final Thoughts
When you want bakery-style cookies without the fuss, these thick and chewy bars deliver every time. They’re simple to make, hard to mess up, and endlessly flexible with add-ins.
Keep a pan in your back pocket for last-minute gatherings or a weekend treat. Warm, melty, and just a little salty on top—this is the kind of dessert people ask you to bring again and again.
Find more in Dessert