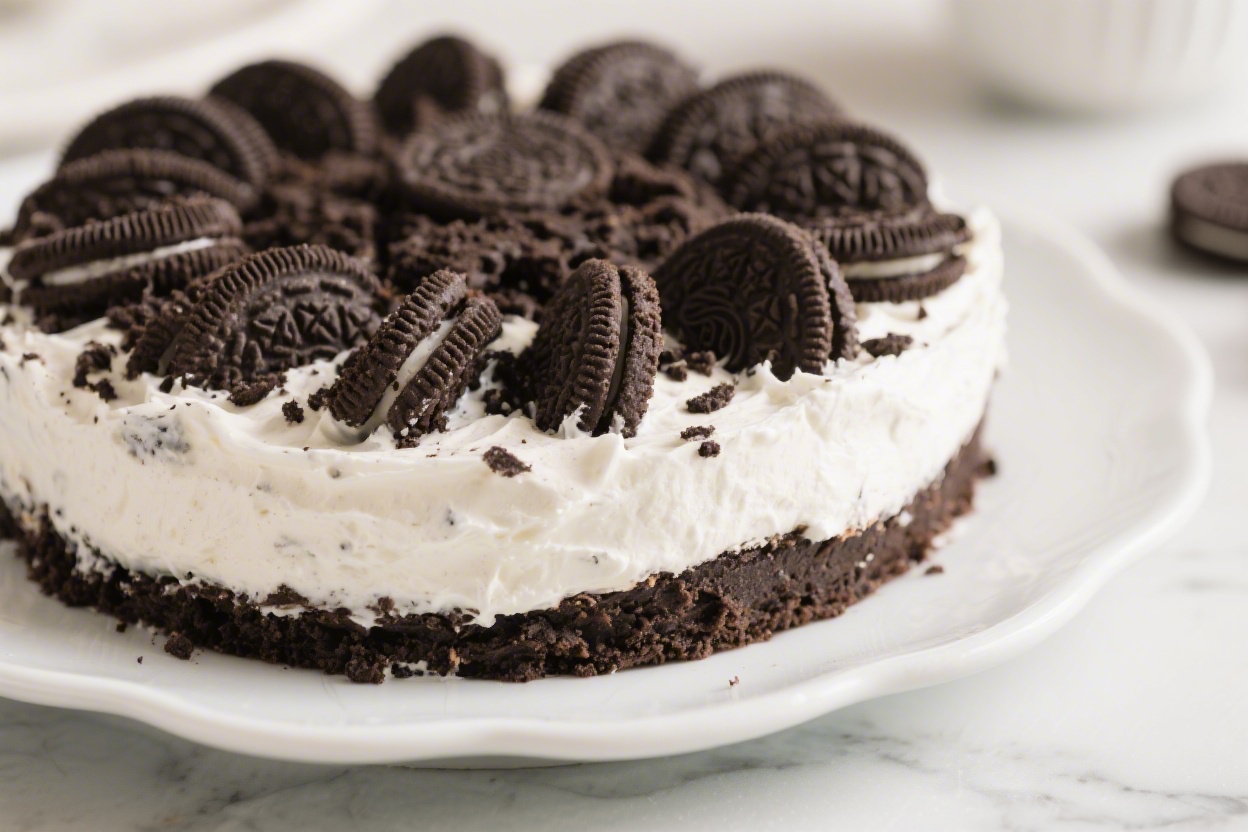
This is the kind of dessert that disappears fast. It’s rich, creamy, and layered with that familiar cookies-and-cream flavor everyone loves. Best of all, you don’t need to turn on the oven or fuss with complicated steps.
A few simple ingredients, a little chill time, and you’ve got a treat that works for birthdays, potlucks, or a relaxed weekend sweet. Make it ahead, keep it cold, and watch it become the star of the table.
What Makes This Recipe So Good
- No baking required: Great for warm days or when you just want something quick and low-effort.
- Simple ingredients: Mostly pantry and fridge staples with minimal prep.
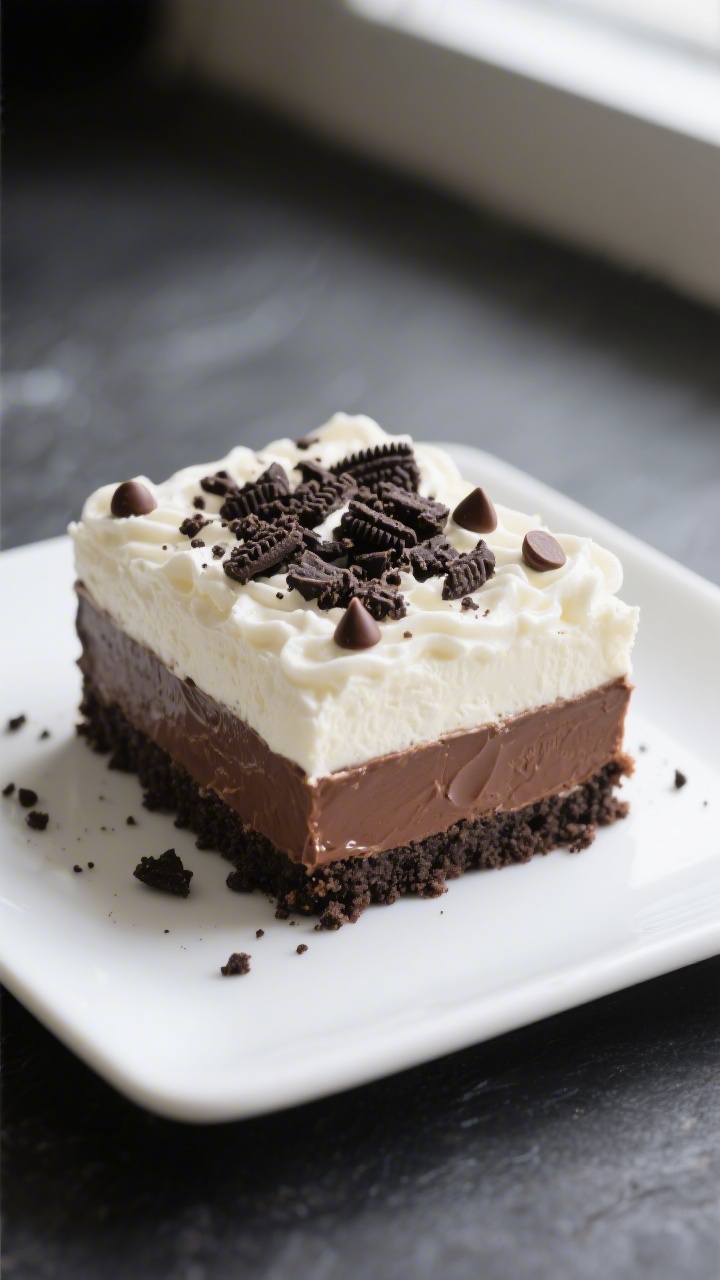
- Creamy texture: A smooth cream cheese layer meets fluffy whipped topping and crunchy Oreo crumbs.
- Make-ahead friendly: It actually tastes better after chilling because the layers settle and the flavors meld.
- Customizable: Switch up toppings, flavors, or presentation without changing the core method.
Ingredients
- Oreos: About 36 regular Oreo cookies (divided: most for the crust, some for folding and topping)
- Unsalted butter: 6 tablespoons, melted (for the crust)
- Cream cheese: 8 ounces, softened to room temperature
- Powdered sugar: 3/4 cup
- Vanilla extract: 1 teaspoon
- Cold milk: 2 cups (whole or 2% works best)
- Instant chocolate pudding mix: One 3.9-ounce box
- Whipped topping (like Cool Whip): 16 ounces, thawed in the fridge
- Optional add-ins: Pinch of salt for the cream cheese layer, mini chocolate chips, or extra crushed Oreos for topping
How to Make It
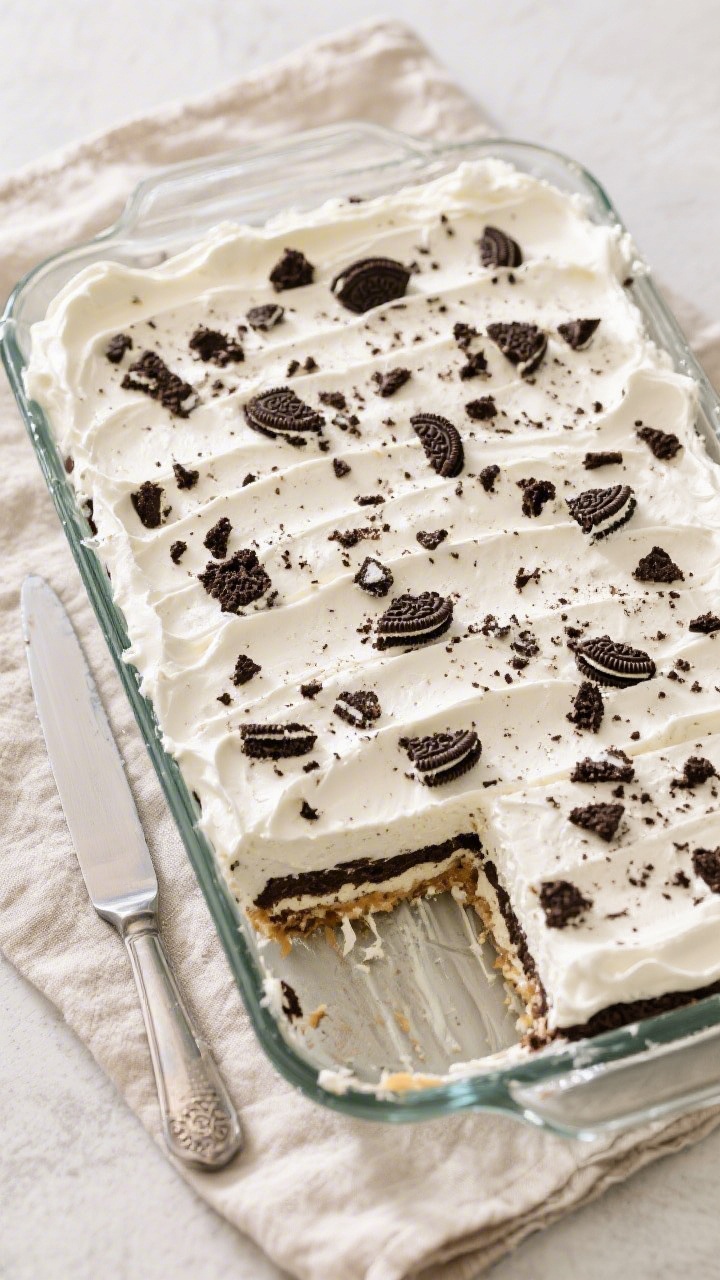
- Prep the pan: Lightly grease a 9×13-inch dish or line it with parchment for easy slicing.
- Crush the Oreos: Add about 28–30 Oreos to a food processor and pulse to fine crumbs. No processor?
Seal them in a bag and crush with a rolling pin.
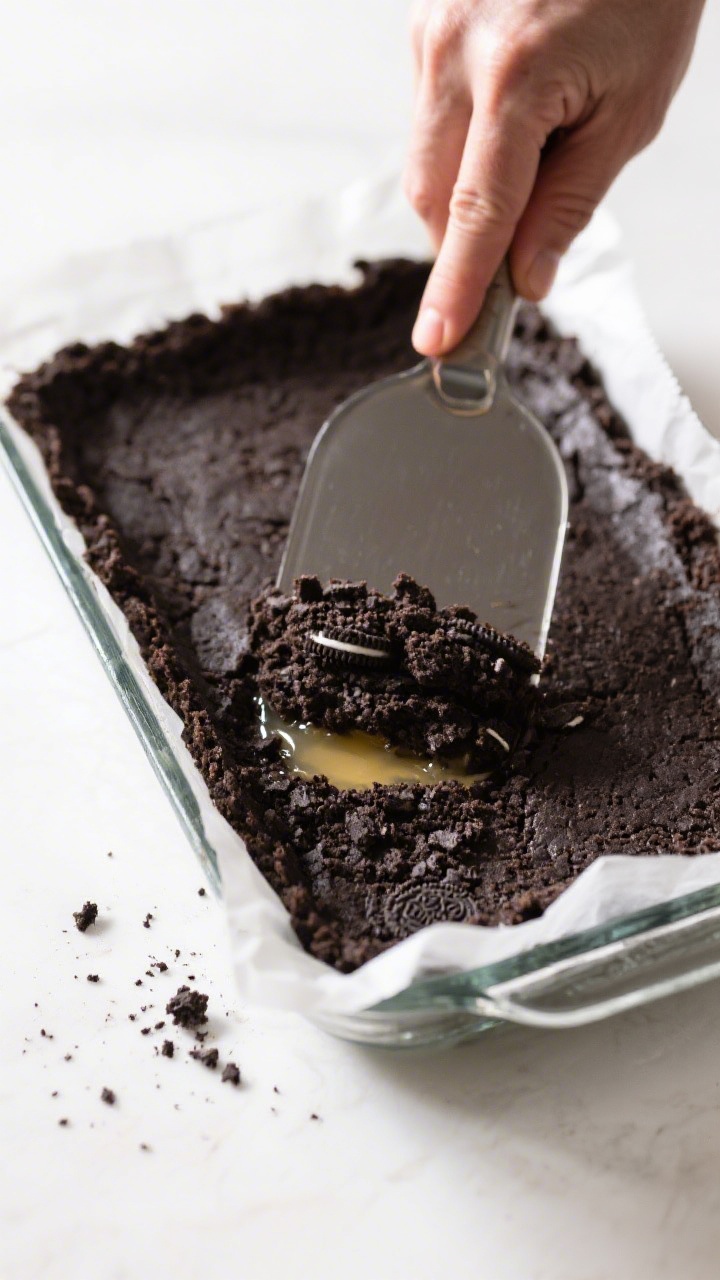
- Make the crust: Stir Oreo crumbs with melted butter until evenly moistened. Press firmly into the dish in an even layer. Use the bottom of a flat glass to pack it down.
Chill 10–15 minutes.
- Whip the cream cheese layer: Beat softened cream cheese with powdered sugar, vanilla, and a tiny pinch of salt until smooth and fluffy. Fold in 8 ounces (about half) of the whipped topping until just combined.
- Spread the cream cheese layer: Gently spread over the chilled crust. Go slow so you don’t lift crumbs.
Chill while you prep the pudding.
- Mix the pudding: In a bowl, whisk cold milk with the instant pudding mix for 2 minutes. Let it thicken for 3–5 minutes until soft-set.
- Add the pudding layer: Spread the pudding evenly over the cream cheese layer.
- Top with whipped topping: Spread the remaining 8 ounces of whipped topping over the pudding. Keep it smooth for a clean look.
- Finish with Oreos: Roughly chop or crush the remaining Oreo cookies and sprinkle over the top.
Add mini chocolate chips if you like extra texture.
- Chill: Cover and refrigerate for at least 4 hours, preferably overnight, to set and slice cleanly.
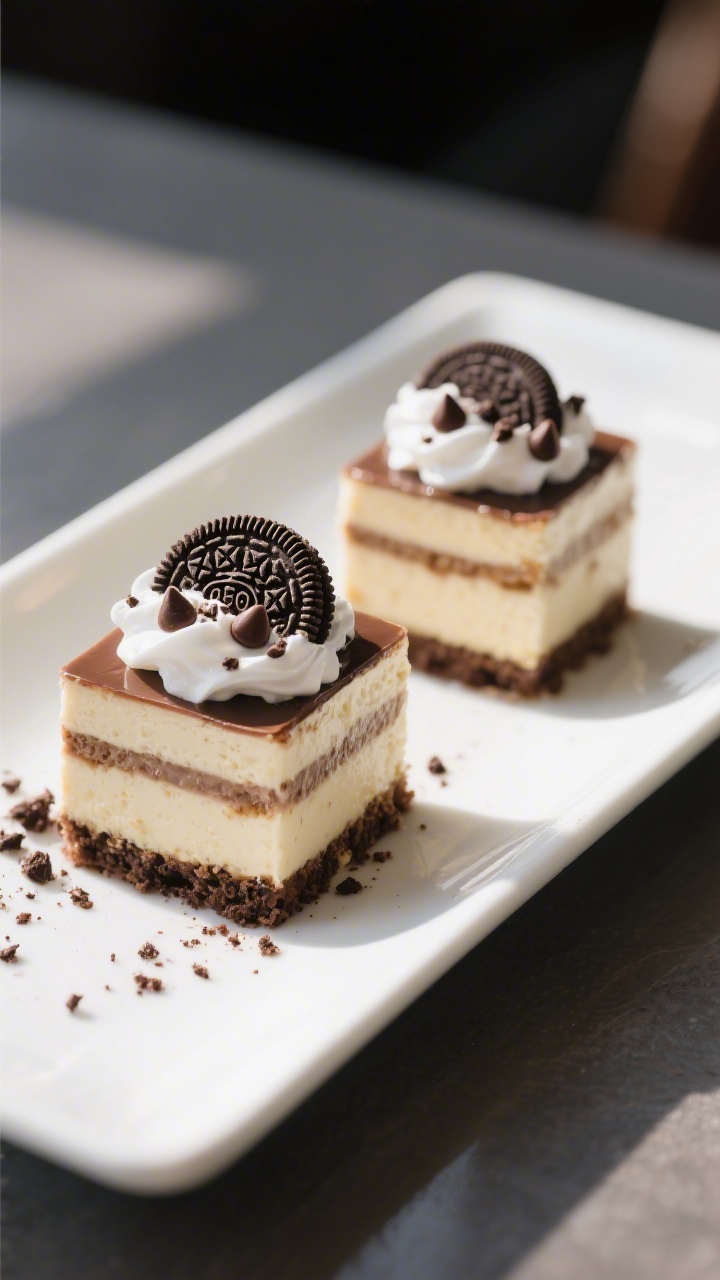
- Serve: Cut into squares with a sharp knife. Wipe the blade between cuts for neat layers.
How to Store
- Refrigerator: Cover tightly and refrigerate for up to 4 days. The crust softens slightly over time but stays delicious.
- Freezer: Freeze for up to 1 month.
Wrap the dish well, or freeze individual squares. Thaw in the fridge overnight before serving.
- Make-ahead tip: Assemble the first three layers, cover, and chill. Add the final whipped topping and crushed Oreos a few hours before serving to keep the top crisp.
Why This is Good for You
- Stress-free entertaining: No-bake means less time in the kitchen and more time with guests.
- Portion control: It’s easy to cut into small squares for a lighter treat.
- Customizable ingredients: You can choose reduced-fat cream cheese, lighter whipped topping, or lower-sugar pudding if you prefer.
- Comfort factor: Familiar flavors and soft, creamy textures make it a guaranteed crowd-pleaser.
Pitfalls to Watch Out For
- Crust not setting: If the crust seems crumbly, you may need a bit more butter or a firmer press.
Chill it well before adding the next layer.
- Runny layers: Use instant pudding and cold milk. Let the pudding thicken before spreading. If it’s loose, give it a few more minutes.
- Lumpy cream cheese: Start with room-temperature cream cheese and beat until smooth before folding in whipped topping.
- Crumbs pulling up: Spread each layer gently with an offset spatula.
Chilling between layers helps keep them separate.
- Watery top: Don’t overmix the whipped topping into the cream cheese; fold just until combined to keep it airy.
Alternatives
- Flavor swaps: Try instant vanilla, white chocolate, or cookies-and-cream pudding for a twist.
- Different cookies: Use Golden Oreos, chocolate grahams, or chocolate wafer cookies for the crust.
- From-scratch whipped cream: Replace whipped topping with 3 cups lightly sweetened whipped cream. Stabilize with 1 tablespoon powdered milk or a packet of gelatin if you want cleaner slices.
- Lighter option: Use Neufchâtel (1/3 less fat) cream cheese, lite whipped topping, and sugar-free pudding and cookies if desired.
- Gluten-free: Choose certified gluten-free sandwich cookies and check the pudding mix label.
- Mini desserts: Layer the components in small cups or jars for individual servings.
FAQ
Can I make this the day before?
Yes. In fact, it tastes even better the next day.
The layers firm up, and the flavors blend nicely. Just keep it covered in the fridge.
What if I don’t have a food processor?
Use a zip-top bag and a rolling pin to crush the cookies. Press out the air first so the bag doesn’t pop, and go over it a few times for fine crumbs.
Can I use homemade whipped cream instead of whipped topping?
Absolutely.
Whip 1 1/2 cups heavy cream with 3 tablespoons powdered sugar to stiff peaks for each 8-ounce tub of topping you’re replacing. Fold gently to keep it fluffy.
How do I get clean slices?
Chill at least 4 hours, preferably overnight. Use a sharp knife, wipe it between cuts, and serve straight from the fridge.
Will double-stuf Oreos work?
They will, but the crust may be a bit softer because of the extra filling.
If it feels loose, add an extra tablespoon of melted butter.
Can I make it smaller?
Yes. Halve the recipe and assemble in an 8×8-inch pan. Chill time is the same.
What if my pudding doesn’t set?
Make sure you used instant pudding and cold milk.
If it’s still runny, refrigerate it for 10 more minutes before spreading.
How do I prevent the top from getting soggy?
Add the final crushed Oreo topping within a few hours of serving. Store covered and avoid condensation dripping onto the dessert.
In Conclusion
This No Bake Oreo Dessert is simple, reliable, and always welcome. It layers crunchy cookie crumbs with creamy, pudding-rich goodness, and it asks for almost no effort in return.
Keep a box of Oreos and a few basic ingredients on hand, and you’re only a chill away from a dessert that fits any occasion. Make it once, and it will slide right into your regular rotation.
Find more in Dessert