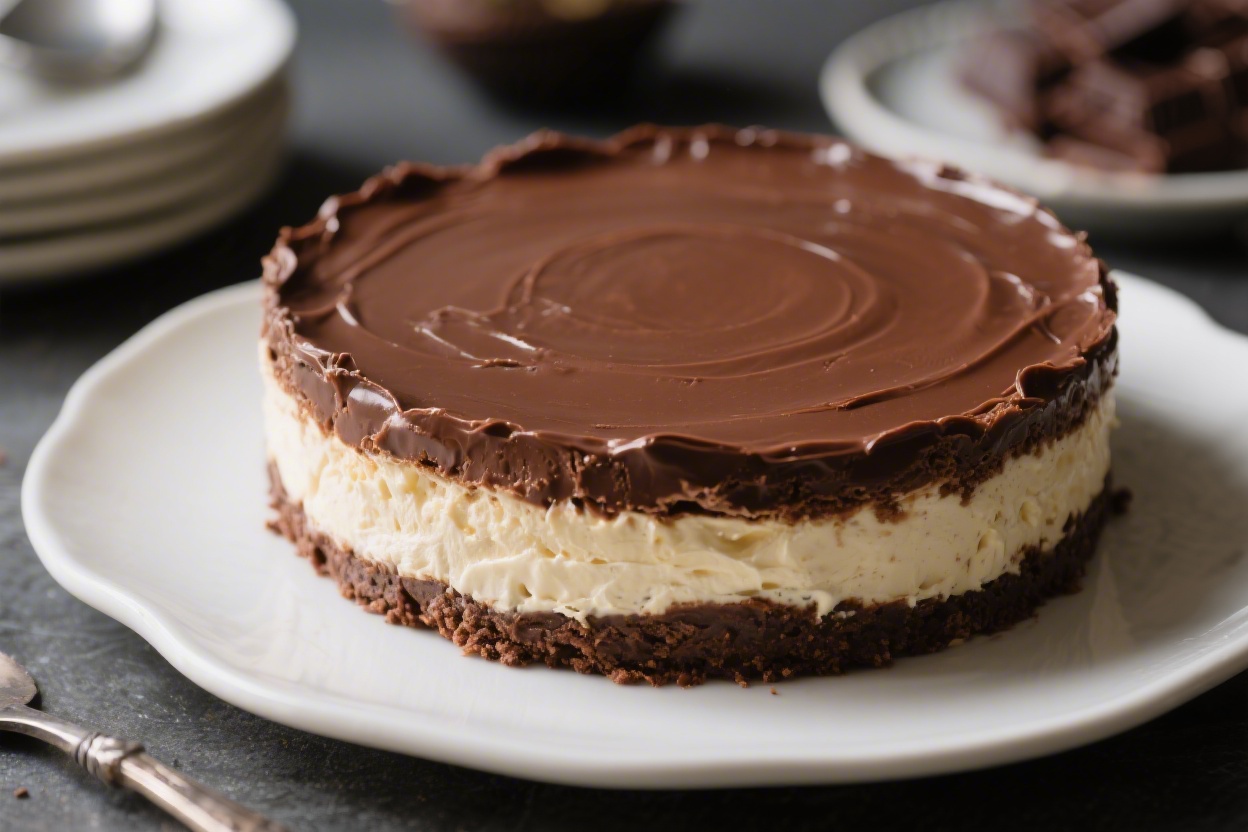
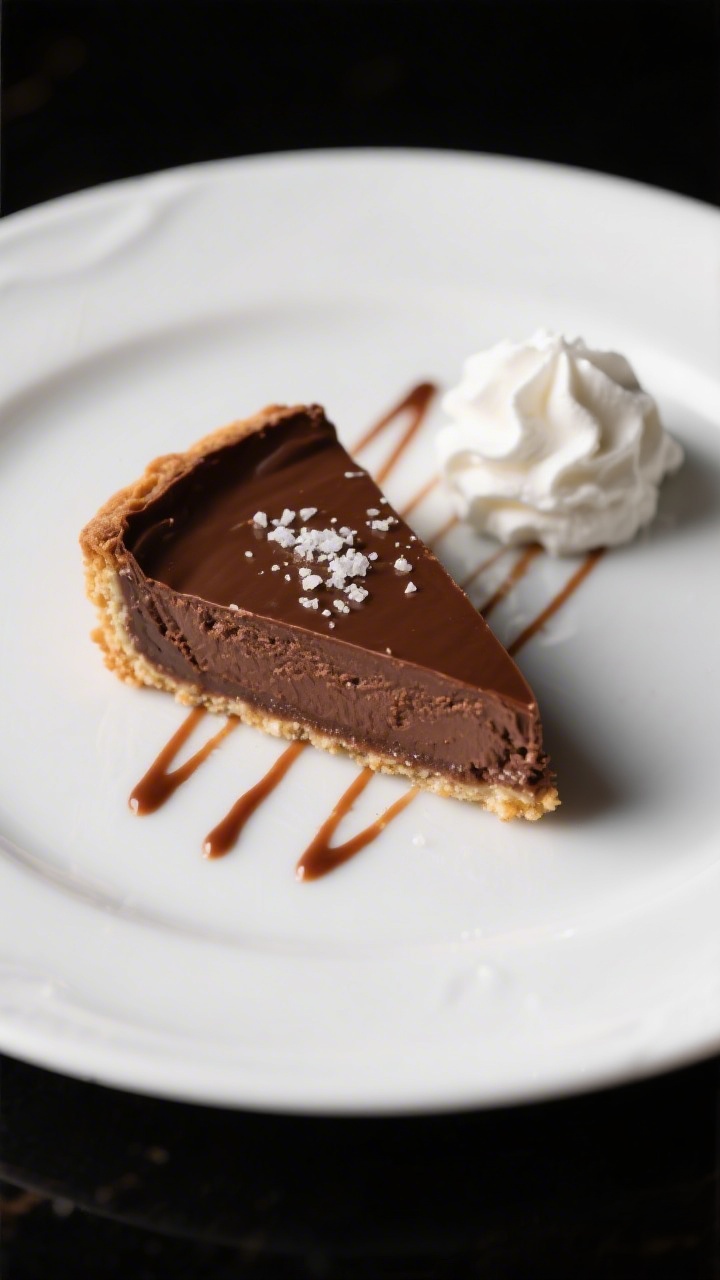
If you love the idea of a silky chocolate cheesecake without turning on the oven, this one’s for you. It’s smooth, deeply chocolatey, and sets up beautifully in the fridge. No eggs, no water bath, no fuss—just a luscious dessert that looks bakery-worthy.
You can make it the night before and let the fridge do the work. It’s the kind of recipe that’s hard to mess up and easy to love.
Why This Recipe Works
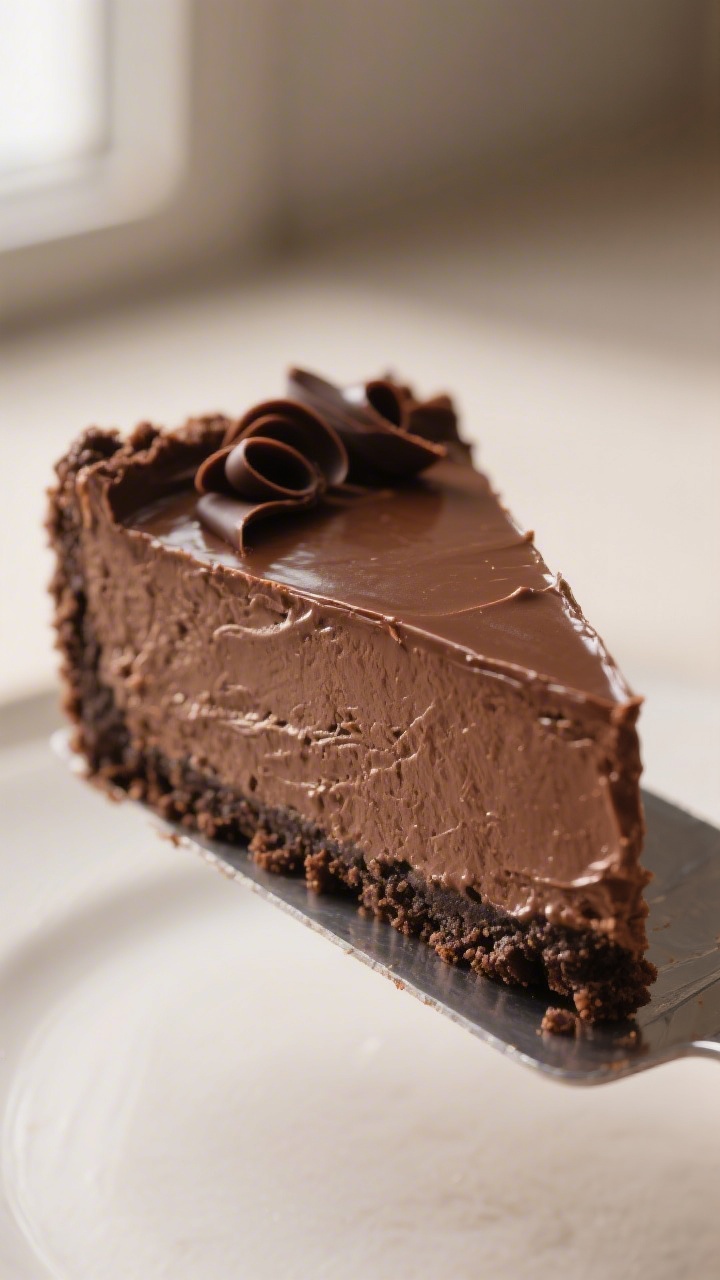
- No baking required: The cream cheese and whipped cream create structure, so it firms up without heat.
- Chocolate two ways: Melted chocolate adds body and richness, while cocoa powder boosts the chocolate flavor.
- Stable, sliceable texture: Properly whipped cream folded into the filling gives you clean slices and a mousse-like feel.
- Easy crust: A buttery cookie crumb crust holds together without pre-baking and delivers a satisfying crunch.
- Reliable set time: Clear chilling guidance ensures it sets every time, even for beginners.
Ingredients
- For the crust:
- 2 cups (about 200 g) chocolate cookie crumbs (Oreo crumbs without filling or chocolate graham crackers)
- 6 tablespoons (85 g) unsalted butter, melted
- 2 tablespoons granulated sugar
- Pinch of fine sea salt
- For the filling:
- 12 ounces (340 g) semisweet or dark chocolate, chopped
- 24 ounces (680 g) full-fat cream cheese, softened to room temperature
- 3/4 cup (90 g) powdered sugar
- 1/4 cup (25 g) unsweetened cocoa powder
- 1 teaspoon pure vanilla extract
- 1/8 teaspoon fine sea salt
- 1 cup (240 ml) cold heavy whipping cream
- Optional toppings:
- Shaved chocolate or chocolate curls
- Fresh berries
- Lightly sweetened whipped cream
- Warm chocolate ganache drizzle
Instructions
- Prep the pan: Lightly grease a 9-inch springform pan and line the bottom with parchment. This makes clean slicing and easy release.
- Make the crust: In a bowl, mix cookie crumbs, melted butter, sugar, and salt until the texture resembles wet sand.
Press firmly into the bottom of the pan and slightly up the sides. Use a flat-bottomed glass to compact it well. Chill while you make the filling.
- Melt the chocolate: Place chopped chocolate in a heatproof bowl.
Microwave in 20–30 second bursts, stirring between each, until smooth. Let it cool until just slightly warm to the touch. (You don’t want it hot.)
- Beat the cream cheese: In a large bowl, beat softened cream cheese with an electric mixer for 1–2 minutes until smooth and fluffy. Scrape down the bowl.
- Add dry ingredients and flavor: Sift in powdered sugar and cocoa powder.
Add vanilla and salt. Beat on low, then medium, until fully combined and silky. Scrape the bowl again.
- Blend in the chocolate: Pour the cooled melted chocolate into the cream cheese mixture and beat just until uniform.
The filling will look glossy and thick.
- Whip the cream: In a separate chilled bowl, whip the cold heavy cream to medium-stiff peaks. It should hold shape but still look smooth and creamy.
- Fold it in: Gently fold the whipped cream into the chocolate mixture in two additions. Use a spatula and light strokes to keep it airy.
Stop as soon as no streaks remain.
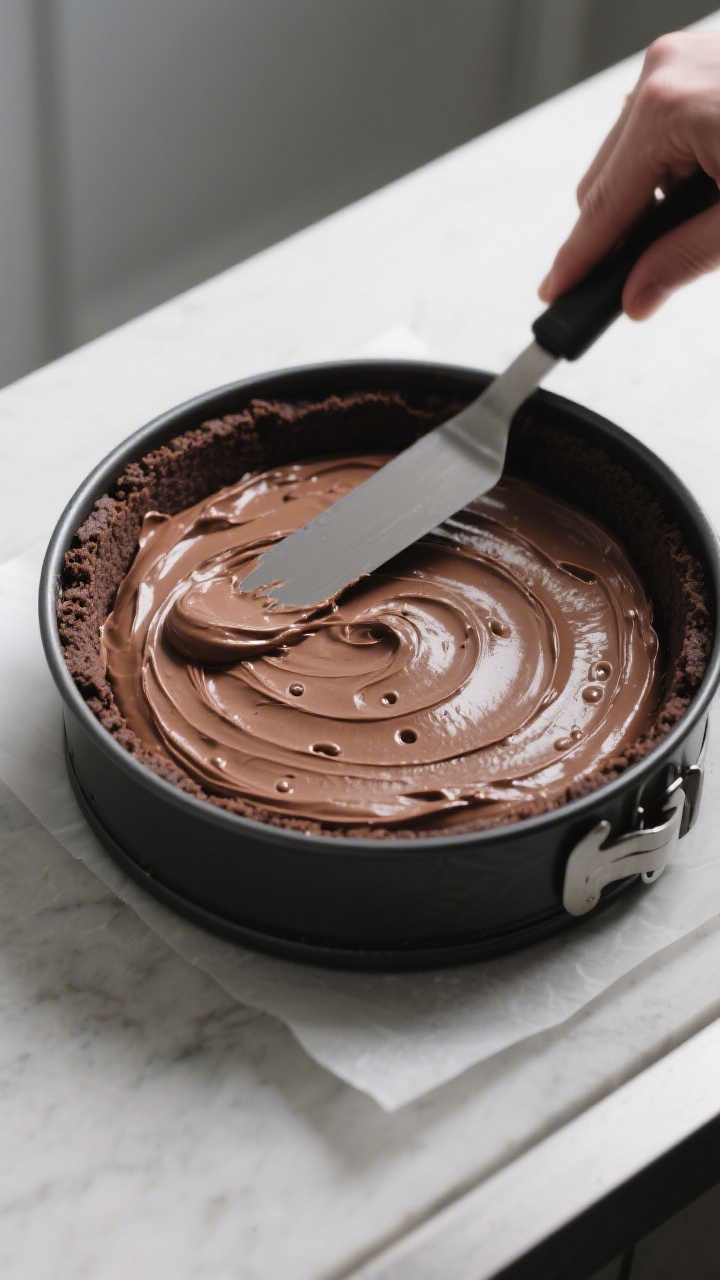
- Fill and level: Spoon the filling into the chilled crust. Smooth the top with an offset spatula. Tap the pan gently on the counter to release air bubbles.
- Chill to set: Cover and refrigerate for at least 6 hours, preferably overnight. Do not rush this step. Proper chilling is key to clean slices.
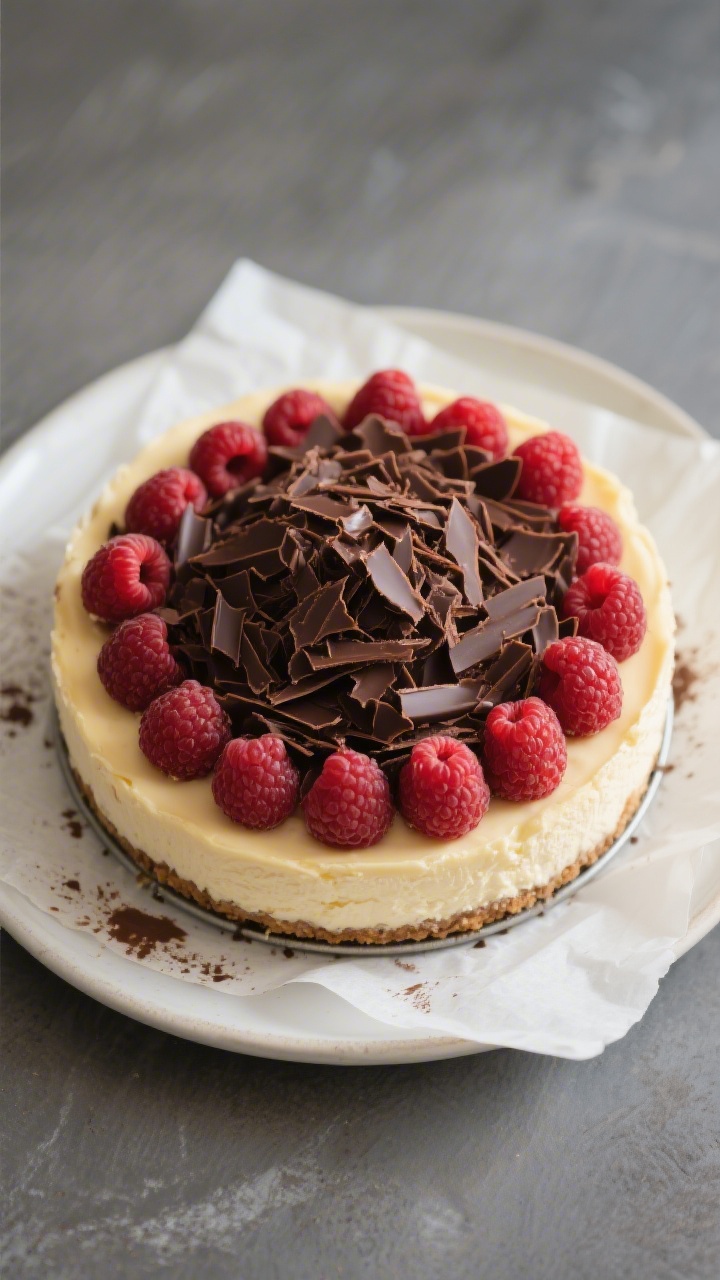
- Unmold and garnish: Run a thin knife around the edge, release the springform, and remove the ring.
Top with shaved chocolate, berries, or a swirl of whipped cream if you like.
- Slice and serve: For neat slices, warm a sharp knife under hot water, wipe dry, and cut. Repeat between slices.
Storage Instructions
- Refrigerator: Cover tightly and store for up to 5 days. Keep it cold until serving for the best texture.
- Freezer: Freeze whole or in slices for up to 2 months.
Wrap well in plastic and foil or store in an airtight container. Thaw overnight in the fridge.
- Make-ahead: This dessert is ideal to prepare a day in advance. Garnish just before serving to keep toppings fresh.
Benefits of This Recipe
- Beginner-friendly: Clear steps and no baking mean less stress and fewer tools.
- Consistent results: Balanced ratios give you a creamy, stable set every time.
- Flexible chocolate profile: Choose semisweet for classic flavor or dark for a bolder, less sweet bite.
- Great for gatherings: Feeds a crowd and looks impressive without last-minute effort.
- Customizable: Crust, toppings, and sweetness can be adjusted to taste.
What Not to Do
- Don’t use low-fat cream cheese. It won’t set as firmly and can taste chalky.
- Don’t add hot chocolate to the filling. Warm chocolate can melt the whipped cream and turn the filling soupy.
- Don’t skip the chill time. Cutting early leads to messy slices and a soft center.
- Don’t overwhip the cream. Overwhipped cream turns grainy and won’t fold in smoothly.
- Don’t forget to compact the crust. A loose crust will crumble when slicing.
Recipe Variations
- Mocha Cheesecake: Add 1–2 teaspoons instant espresso powder to the cocoa powder for a coffee-kissed flavor.
- Salted Caramel Swirl: Dollop 1/3 cup thick caramel over the filling, swirl with a knife, and finish with flaky sea salt.
- Nutty Crunch: Stir 1/2 cup finely chopped toasted hazelnuts or almonds into the crust for extra texture.
- Mint Chocolate: Replace vanilla with 1/2 teaspoon peppermint extract and top with crushed chocolate mints.
- White-and-Dark Marble: Reserve 1 cup of the filling before adding cocoa.
Swirl the plain portion through the chocolate layer for a marbled look.
- Gluten-Free: Use certified gluten-free chocolate cookies for the crust.
- Boozy Twist: Mix 1–2 tablespoons Irish cream or coffee liqueur into the filling, reducing vanilla slightly.
FAQ
Can I use milk chocolate instead of semisweet or dark?
Yes, but the cheesecake will be sweeter and a bit softer. Reduce the powdered sugar by 2–3 tablespoons to balance sweetness, and chill overnight to ensure a firm set.
How do I fix a grainy filling?
Graininess usually means cold cream cheese or overwhipped cream. Make sure the cream cheese is fully softened before mixing.
If already grainy, gently fold in a few tablespoons of room-temperature cream cheese until smoother. Don’t keep beating, or it may thin out.
What if I don’t have a springform pan?
Use a deep 9-inch pie dish or a 9-inch square pan lined with a parchment sling. You won’t get removable sides, but it will slice and serve just fine.
How long should the chocolate cool before adding?
About 5–10 minutes.
It should be melted and smooth but not warm enough to soften the cream mixture. If it feels just barely warm to the touch, it’s ready.
Can I make this without an electric mixer?
You can, but it’s more work. Whisk the softened cream cheese very well until smooth, and use a balloon whisk to whip the cream to medium-stiff peaks.
A hand mixer makes it easier and more consistent.
Why did my crust crumble?
It likely wasn’t packed firmly or needed a touch more butter. Press it down hard with a flat-bottomed glass and make sure every crumb looks moistened. If your cookies are very dry, add 1 extra tablespoon of melted butter.
Is this safe to leave out at room temperature?
Keep it chilled.
It can sit out for about 1 hour for serving, but return leftovers to the fridge promptly. The texture and food safety both depend on staying cold.
Can I reduce the sugar?
Yes. You can cut the powdered sugar to 1/2 cup.
The chocolate still brings sweetness, and the texture will remain creamy.
Wrapping Up
This no bake chocolate cheesecake delivers everything you want in a showstopping dessert with none of the stress. The crust is crisp, the filling is silky, and the chocolate flavor is deep and satisfying. Make it ahead, chill it well, and slice it with confidence.
Once you try it, you’ll keep it in your back pocket for birthdays, dinner parties, and any time you want a guaranteed winner.
Find more in Dessert